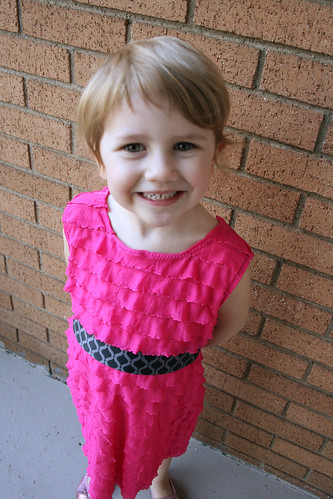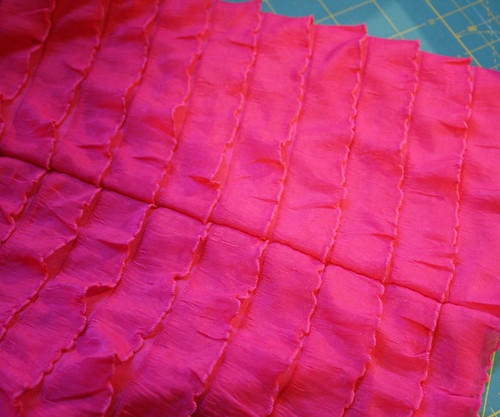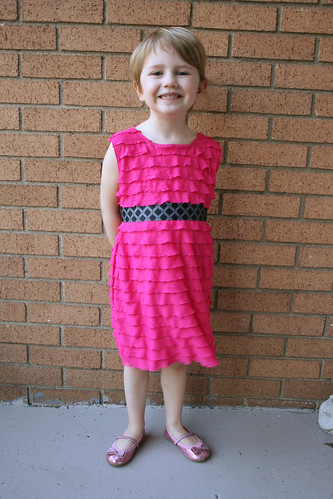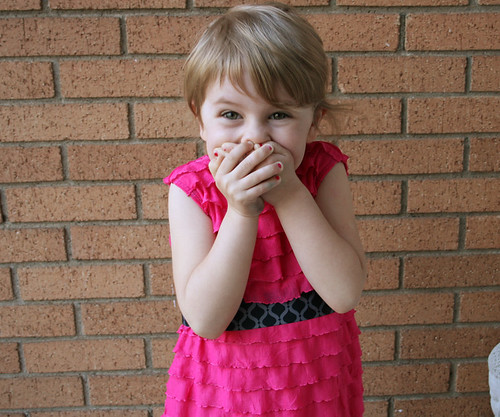
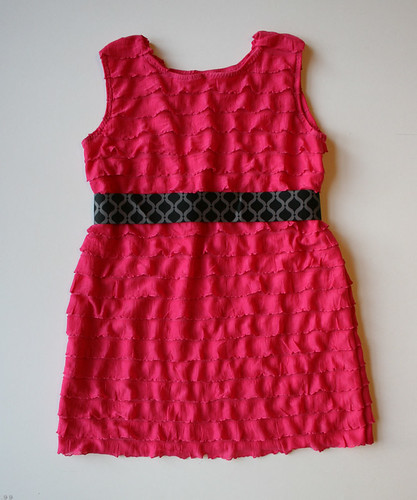
I've had this ruffle fabric in my stash for quite a while, and KCW was the push I needed to put it to use (I think I said that with the flannel jammie pants earlier this week too!).
I was inspired by this dress I pinned months ago.
It definitely took me longer than 20 minutes. I'm far too OCD to whip out a dress made of such fussy fabric that quickly. I had to take my time pinning the sides so that ruffles all lined up nicely. I think I did a pretty good job!
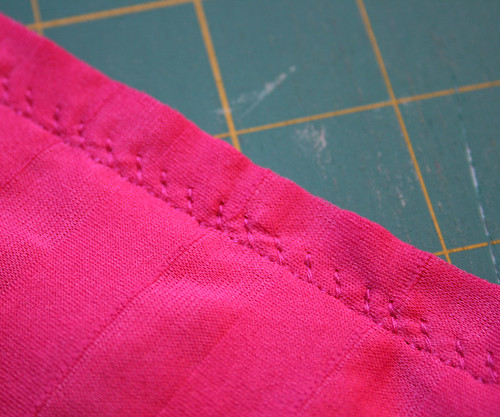
Since I was using this stretchy fabric, I tried a stretch stitch on my machine I never used before. It worked fabulously with this fabric!
I love that she still gets so excited for new clothes made by mommy!
And one more, just 'cause she's so darn cute....
Friday, April 26, 2013
Wednesday, April 24, 2013
WIP Wednesday - 4/23/13
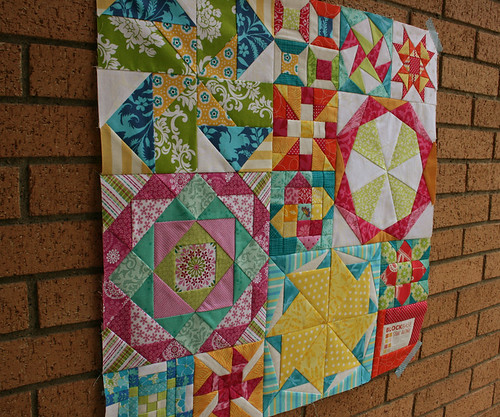
This week I've been working on finishing up my quilt for the BlockBase Sew Along.
The top is a bit busy, but all those bright colors just make me so happy! My blocks are two different sizes- 10" and 5". Sewing the blocks at different sizes makes a sampler-type quilt a bit more fun to work on. And it can give you more interesting options for the final layout too!
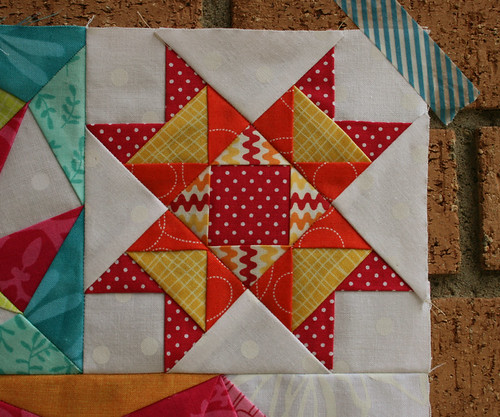
Here's my favorite block from the bunch:
I'll be starting a new sew along over on the Do You EQ blog next week called the EQ7 Summer Drawing Series. If you have EQ7, and are interested in drawing your own blocks, I'd love for you to join us!
Tuesday, April 23, 2013
Kids Clothes Week: A First!
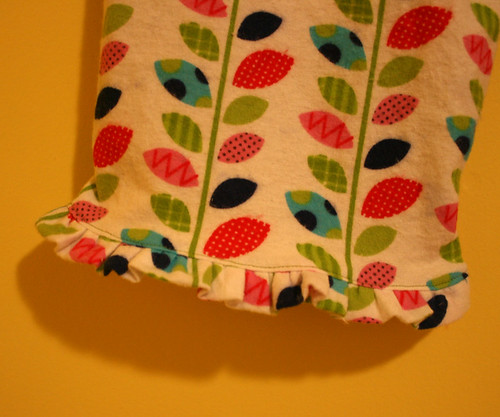
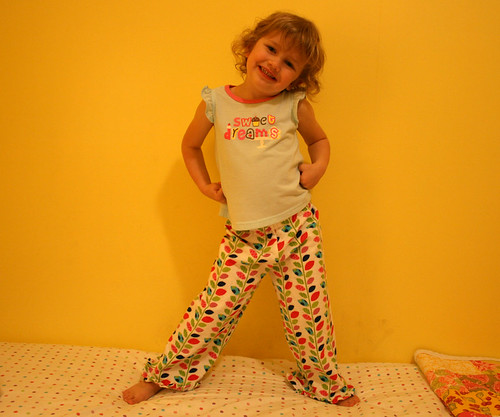
I've never participated in Kids Clothing Week before, so I thought I'd give it a go this time around! I didn't even realize it was KCW until I saw a post on Sunday, so I'm not going into this week terribly prepared. Patterns have not been cut out in advance. No fabric was been washed and pressed with projects in mind. I'm kinda wingin' it here, so I'm starting out with something simple: flannel jammie pants.
I bought this flannel months ago (ya know, back when it made sense to be making flannel pajamas), so I'm glad KCW gave me the little push I needed to actually get sewing. I've made her pants like this a few times before, but I did change it up a bit and added a little ruffle to the cuffs.
K was quite excited for the new pants. She asked if they were ready yet about a million times this evening, and luckily I got them done just in time for bed.
Tuesday, April 2, 2013
Oliver + S: Family Reunion Dress
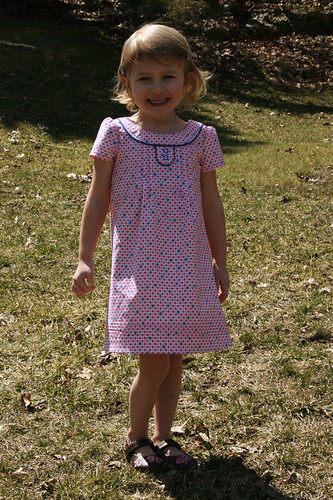
We celebrated my daughter's fourth birthday this past weekend and, in keeping with tradition, I made her a special birthday dress.
(You can see the third birthday dress here and the second birthday dress here.)
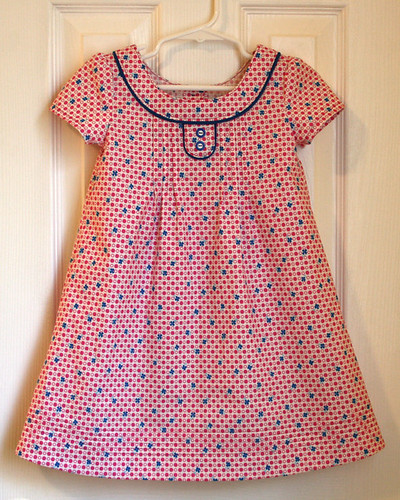
I absolutely love this dress. Not only because it turned out great, but also because I tried a few things I've never done in clothes sewing before and I'm pretty proud of myself for it! More on that later...
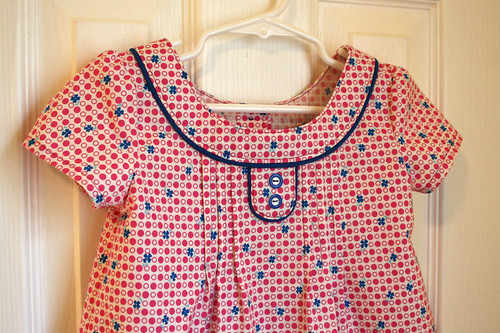
Can you ever go wrong with an Oliver + S pattern? I can't say enough how much I like these patterns. The instructions are always clear and easy to understand. All the little details make for such a beautiful finish. But all those wonderful details do take time and this dress may have been a bit ambitious for the time frame I had to work in.
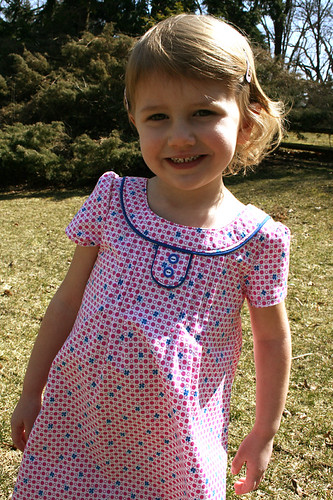
You'll notice that this is not the same pattern and fabric I posted when I first mentioned working on a birthday dress for K. I was having issues with the foot pedal of my sewing machine and knew I needed to get it in for service. Having dealt with my slow (and most-unfriendly) machine dealer before, I knew I'd be without my machine for at least a couple of weeks. So I quickly whipped up that dress before I took the machine in to the dealer. Well, the dress turned out too big. And rather than try to alter the dress to make it fit better (which I'm not confident I'd be able to do properly), I decided I'd just make a whole new dress. The first dress will fit eventually (and maybe I've got birthday #5 dress done already!).
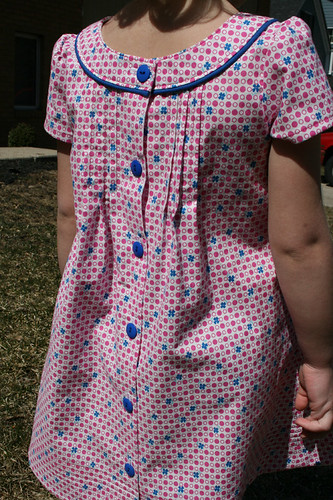
So I got my sewing machine back about a week before K's birthday and set to work! When I say I was working on this dress until the last minute, I'm not exaggerating. I had purchased buttons for the back of the dress a few days before, but had forgotten about the decorative buttons for the front tab. The party started at 2 on Saturday, and at 12:30 I was running to the store to find buttons for the front tab.
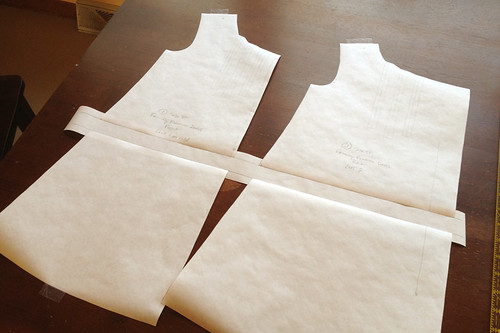
So what about those new things I tried with this dress? Well K is on the tall side and I always add an inch or two to the hem of any dress or skirt I make for her. Luckily with this dress pattern, I thought far enough ahead to realize that if I just extended the lines of the dress (and followed the outward curve), the hem facing wouldn't fit without adjustment too. So this time, I lengthened the pattern the "proper" way and added an inch to the body of the dress at one of the notches. Check out this Oliver + S post for more info about lengthening and shortening patterns. I usually trace patterns onto freezer paper and in the photo below you can see how I've sliced the pattern and added in the extra length.
I also made my own piping for the dress! I saw some other Family Reunion Dresses on Flickr that inserted piping around the neck and button tab and just loved it. Since I couldn't find any pre-made piping the right color, I made my own by cutting bias strips,inserting yarn in the fold, and then stitching it closed using my zipper foot.
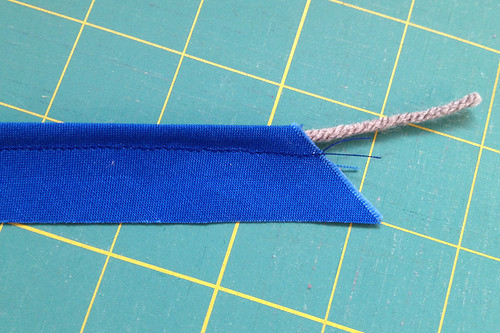
It's the perfect pop of color on the dress!
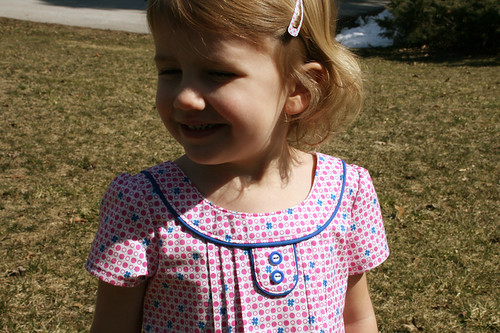
K had a wonderful birthday party, and she looked great too!
Subscribe to:
Posts (Atom)