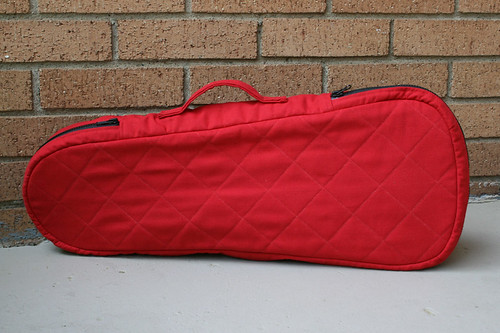
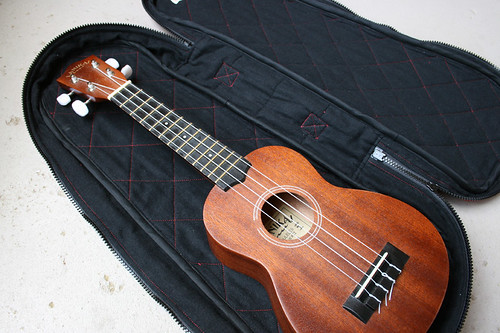
My husband and I celebrated our 10th anniversary this weekend. We agreed that an overnight trip to one of our favorite cities would be our gift to each other, but I still wanted to make something for him. In the last couple of years he's become quite the collector of ukuleles (he's always been musical and has played guitar since he was a kid). So I made him a gig bag to fit his soprano ukuleles.
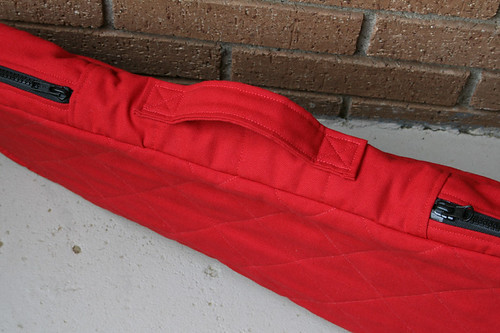
I made the pattern myself, and for winging it, I'm really happy with how it turned out! Longest zipper I've ever installed-- 48"!
It's got durable duck cloth on the outside and soft flannel on the inside, with a layer of batting in between. My daughter was with me when I bought the fabric and she insisted we find red fabric because "it's daddy's favorite color!!".
I quilted the three layers together and then cut out my pattern pieces. The inside seams are bound with double-fold bias tape.
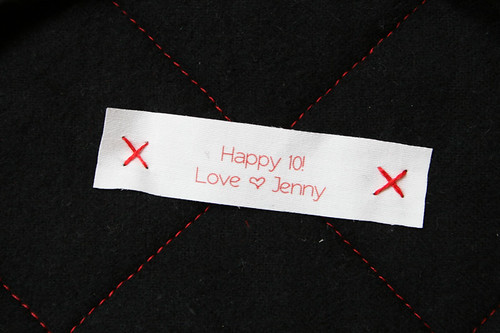
And a little label on the inside to commemorate the occasion :)
Thursday, May 30, 2013
Tuesday, May 21, 2013
Beautiful Belle Handbag
I treated myself to a new spring bag by sewing up the Beautiful Belle Handbag by Amy Butler.
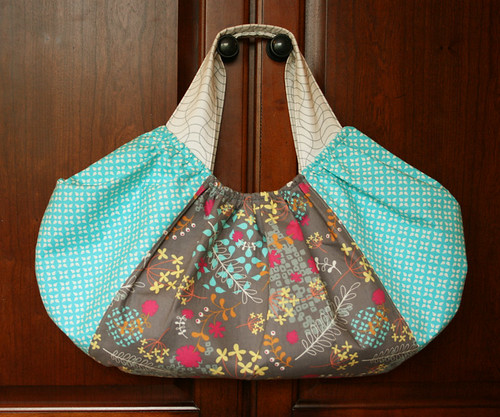
I had been holding on to a few half yard cuts of Washi for a while. If you've ever read my blog before you'll see a fabric hoarding trend here. I rarely, if ever, buy a fabric and immediately use it.
I didn't follow the pattern for any of the insides of the bag. The large divided pockets it called for didn't seem all that useful. So I made a zip pocket on one side and a couple of open gusseted pockets on the other. It's hard to get good photos of the inside of a bag once it's sewn, so I snapped a couple quick shots before I sewed the lining together.
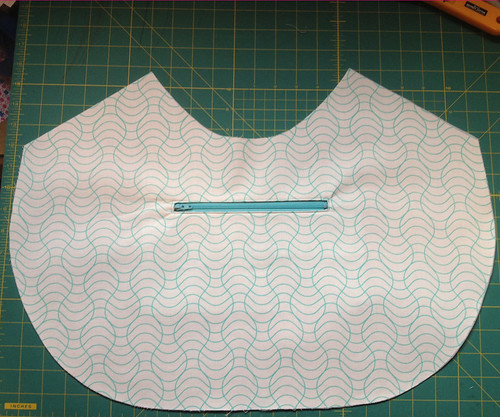
Unfortunately, the cell phone pocket called for in the pattern is too small for my phone (even though I did a quick test measurement and thought it would!). I stitched it on, found it too small, ripped it off and reworked it (using the same piece of fabric) by changing the way I pleated it. Technically it fits now, but it takes quite a bit of fiddling with it to get the phone in, so most of the time I end up just tossing my phone in with all my other junk. It is a nice pocket for my sunglasses though!
I also added a magnetic snap closure to the bag. So glad I did because otherwise the bag would flop wide open every time I set it down.
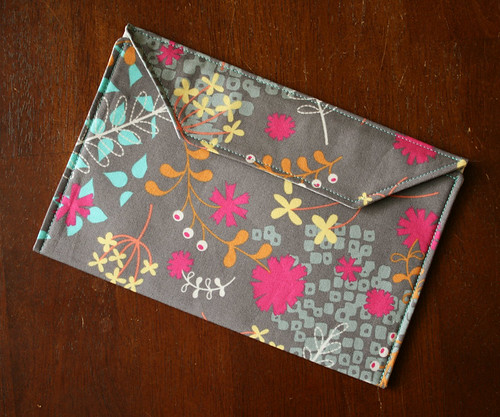
I also made myself a matching fabric envelope (using this tutorial, with a size adjustment) for my coupons.
I had been holding on to a few half yard cuts of Washi for a while. If you've ever read my blog before you'll see a fabric hoarding trend here. I rarely, if ever, buy a fabric and immediately use it.
I didn't follow the pattern for any of the insides of the bag. The large divided pockets it called for didn't seem all that useful. So I made a zip pocket on one side and a couple of open gusseted pockets on the other. It's hard to get good photos of the inside of a bag once it's sewn, so I snapped a couple quick shots before I sewed the lining together.
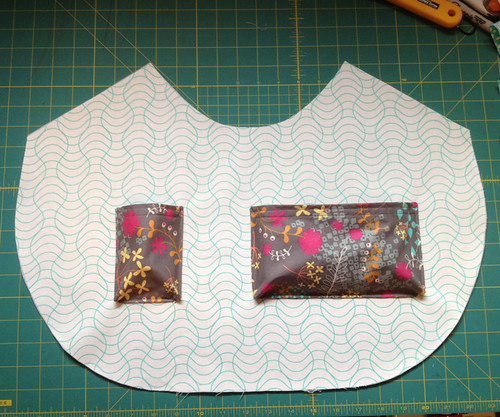
Unfortunately, the cell phone pocket called for in the pattern is too small for my phone (even though I did a quick test measurement and thought it would!). I stitched it on, found it too small, ripped it off and reworked it (using the same piece of fabric) by changing the way I pleated it. Technically it fits now, but it takes quite a bit of fiddling with it to get the phone in, so most of the time I end up just tossing my phone in with all my other junk. It is a nice pocket for my sunglasses though!
I also added a magnetic snap closure to the bag. So glad I did because otherwise the bag would flop wide open every time I set it down.
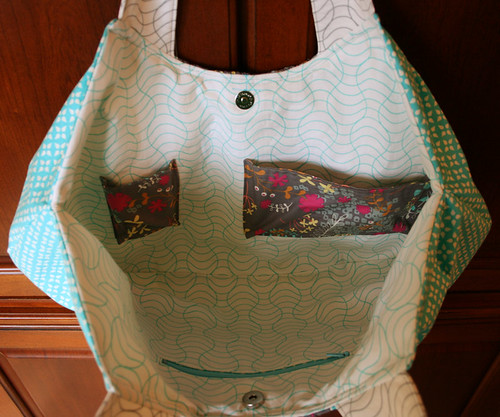
I also made myself a matching fabric envelope (using this tutorial, with a size adjustment) for my coupons.
Subscribe to:
Posts (Atom)