Wednesday, September 25, 2013

WIP Wednesday - 9/25/13

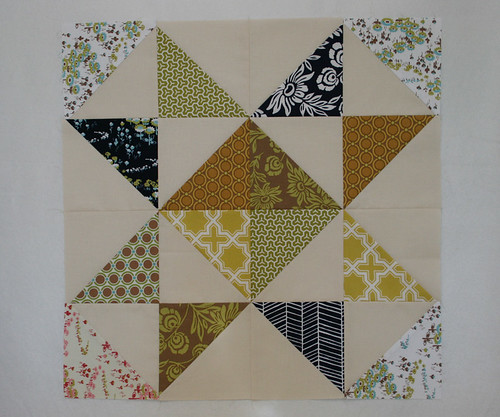
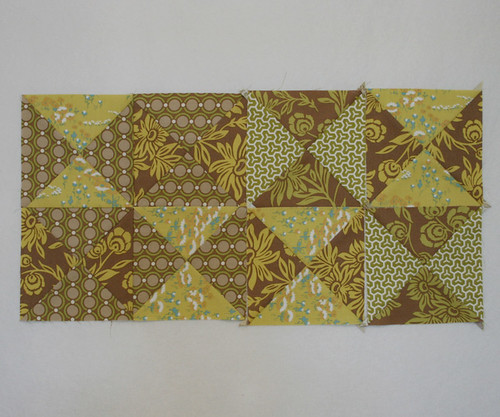
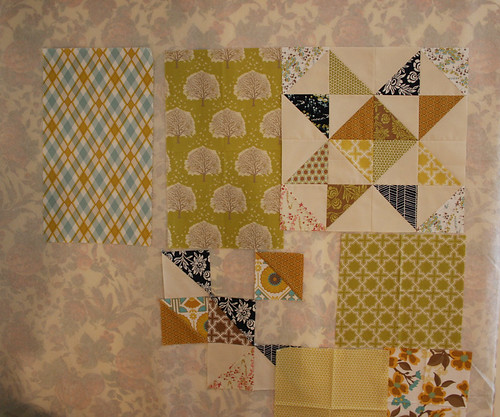
I finally finished this quilt top so now I'm working on piecing together a back from the left over bits and pieces I have from the front. I had a handful of HSTs and I used up what little I had left of the khaki solid to make a few more.

mm quilt back 1

I just love stars. I don't know why I don't make more of them!

mm quilt back 2

In some ways I enjoy putting together a back more than the front. I like the improv aspect and maybe there's less pressure to get it "just right" since its the back.

mm quilt back 3

Hope to be quilting soon!

Tuesday, September 17, 2013

Reversible Wrap Shirt

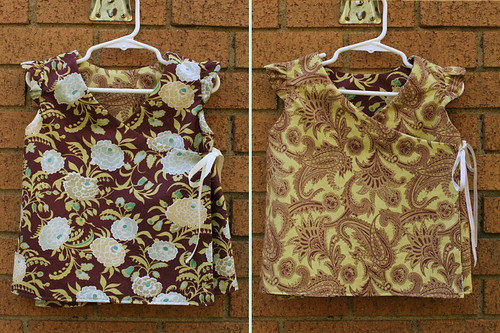
I've been itching to make some more clothes for K, but I needed something that wouldn't take me ages to finish. I found a great (almost) instant gratification project in this free pattern on the Birch Fabrics blog by CINO.

wrap shirt 2

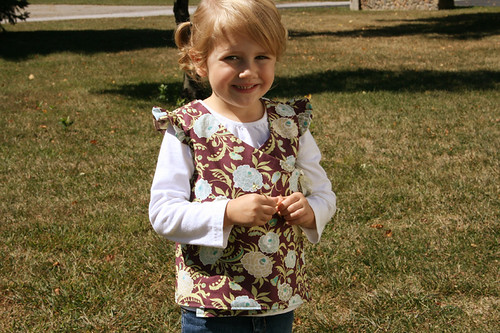
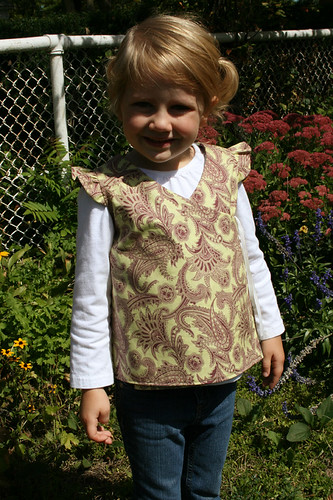
It's a quick, easy sew with just enough cute factor in those ruffled sleeves to give it some personality. I made the 4/5 size and it fits nicely over a long sleeve shirt. I probably should have made it a smidge longer than the pattern. I always seem to forget I've got a long-waisted girl.

wrap shirt 1

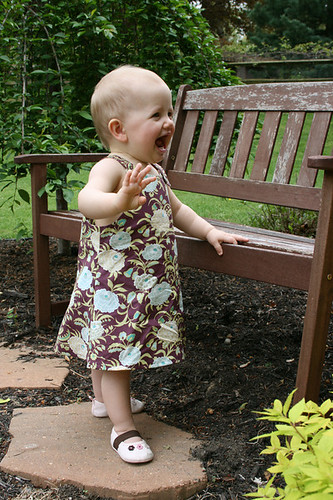
Who doesn't love a reversible shirt that can work double time? This fabric is more left over tradeshow table covers from work using vintage* Gypsy Caravan by Amy Butler. I used this fabric for the first dress I ever made for K. Oh, do I miss her being that little!

jumper 2

She's growing up to be a pretty awesome kid though.

wrap shirt 3

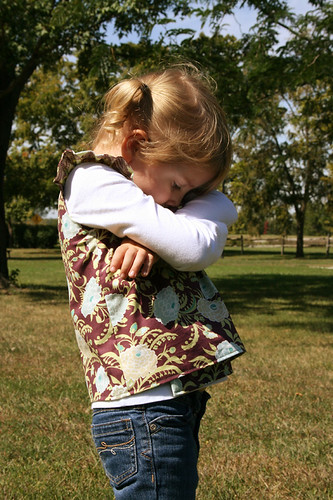
And the photo shoot is over!

wrap shirt 4


*Vintage = as in the first release back in the early 2000s, not from the re-release a year or two ago. I had Amy Butler in my Stash before it was cool. Ok fine, she was always cool.

Friday, September 13, 2013

Speech Bubbles Blocks

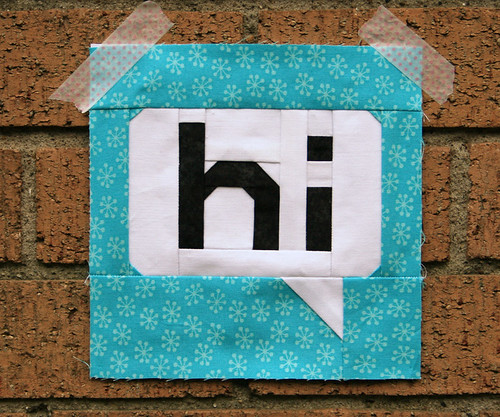
I have some exciting news to share- I'm designing block patterns on My EQ Boutique! The Hi block below is part of my first foundation pieced collection called Speech Bubbles available here.

Hi Speech Bubble

Here's a little preview of the collection:


If you haven't seen My EQ Boutique before, you should totally check it out! You get to download the software for free and then you can print the block patterns from the site at any size you want. So even though I made the Hi block above at 6", you could choose to make it at 12" (or 5"... or 8.75"... whatever size you want!).

You also get to pick whether you want to buy individual blocks or the whole collection (at a great price!). There are several free collections you can download to try it out. I highly recommend!

There's also a flash sale going on right now at My EQ Boutique! Use code Friday13 for 25% off your purchase until 11:59 pm EST September 13th.

Wednesday, September 11, 2013

Mario Quilt

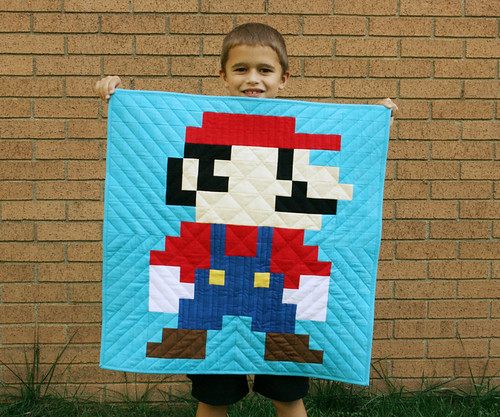
Even though his current video game obsession has shifted to Minecraft, the kiddo still loved the Mario quilt I made him.

Mario Quilt

Inspired by Cut to Pieces' Mario quilt, but the interfacing technique I used for piecing was more similar to Oh Fransson's tutoral (which I also used for my Scrappy Postage Stamp quilt!).

This past summer has not been great for my blogging, but I hope to get back at it more this fall! Stay tuned for more updates soon! :)

Tuesday, July 30, 2013

Improv Flower Block

There has still been plenty of sewing and general craftiness around here this summer, just not much bloggin' about it. I think that's the case for a lot bloggers out there, especially if they have kids home on school break. Summertime is just not meant to be spent inside at a sewing machine (or a computer!).

I've got several hand piecing and embroidery projects going right now- perfect for traveling or lawn chair-sitting while the kids are in the sprinkler. But the progress on those projects is slow and I haven't felt much like sharing.

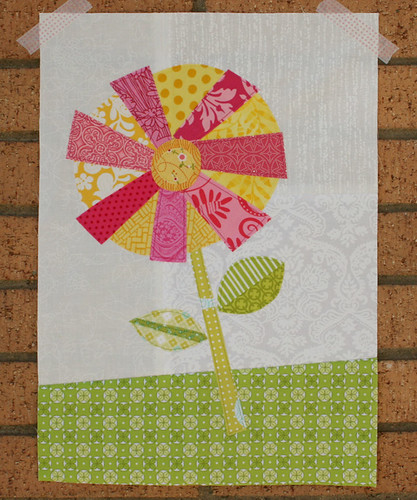
However, this weekend was rainy and a bit chilly and my sewing machine was crying out for use, so I whipped up this little improv flower to get back on the sewing wagon.

flower improv block 1

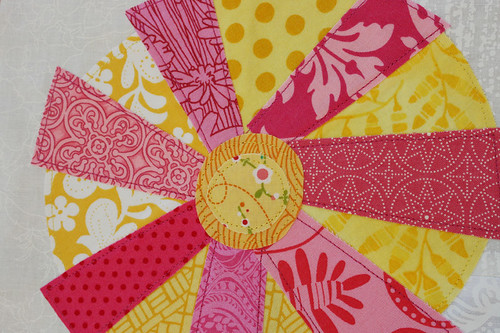
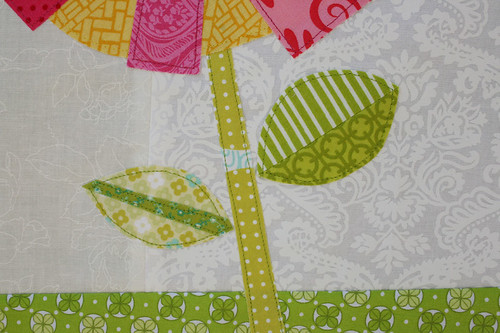
It's mostly fused appliqué, but there are a few pieced bits—the background, the yellow circle of the flower, and one of the leaves. It was fun to pull out the scrap bin and go nuts. Geez did I make a mess of my sewing room in the process!

flower improv block 2

I think those two little leaves are my favorite part. I could make a whole quilt of funky little leaves like that!

flower improv block 3

Thursday, June 13, 2013

Modern Meadow Pillow

modern meadow pillow finished 1

When I saw the announcement for the Modern Mini Challenge a couple of weeks ago, it was just the motivation I needed to finish my Modern Meadow pillow!
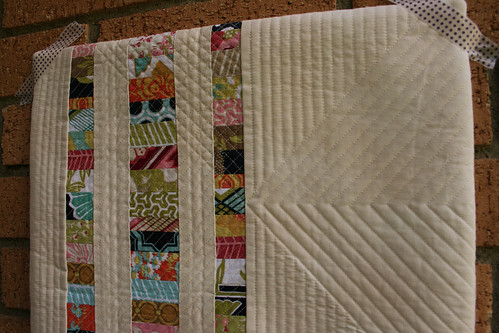
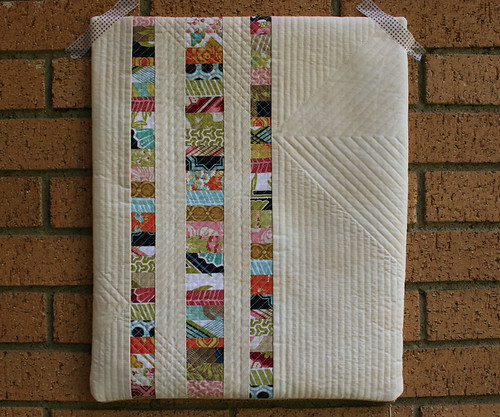
modern meadow pillow finished 2

I decided to take some photos sans pillow because you can see the quilting better when it's not stuffed. And the quilting is my favorite part of this pillow! I just love the texture all these straight lines create.

The quilting plan for this quilt evolved over time. A couple months ago, it looked like this:
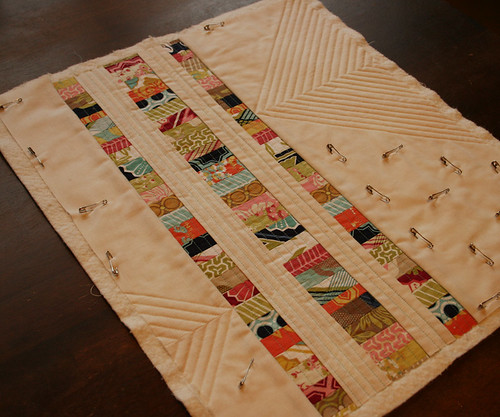
modern meadow pillow wip 1

It started with vertical lines in the pieced sections, but I wasn't quite happy with it because I was going for wonky uneven spacing between the lines, but it just looked sloppy (to me anyway). I soldiered on though. I stitched the angles in the negative spaces on the sides, which I loved the look of. But then the project sat for a looong time and I didn't know where to go next.

The "wonky" lines continued to bother me, so I bit the bullet and pulled out the seam ripper a few days ago. This gave me the opportunity to continue the angles into the pieced panel and I love the results!
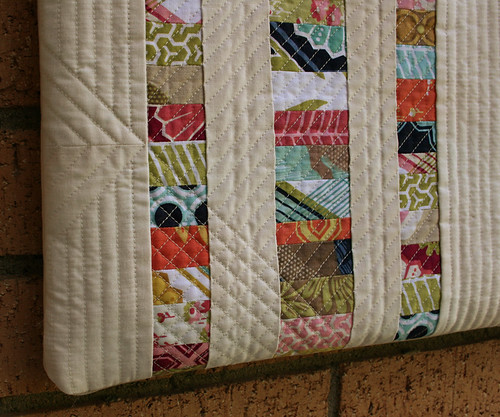
modern meadow pillow finished 3

And here it is with the pillow. While working on this project, I always pictured it vertically but with the pillow insert I'm thinking it might work better with the strips running horizontally. What do think- portrait or landscape pillow?
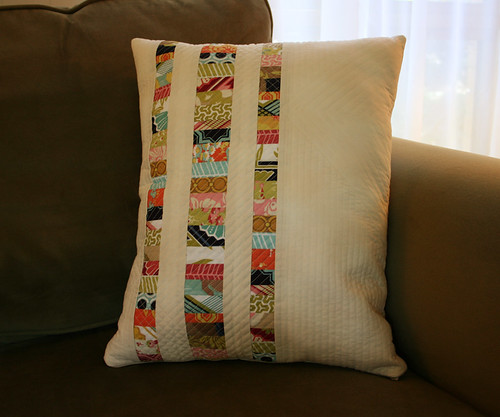
modern meadow pillow finished 4

Check out all the wonderful mini entries over at Ellison Lane!

Thursday, May 30, 2013

Ukulele Gig Bag

My husband and I celebrated our 10th anniversary this weekend. We agreed that an overnight trip to one of our favorite cities would be our gift to each other, but I still wanted to make something for him. In the last couple of years he's become quite the collector of ukuleles (he's always been musical and has played guitar since he was a kid). So I made him a gig bag to fit his soprano ukuleles.

uke gig bag 1

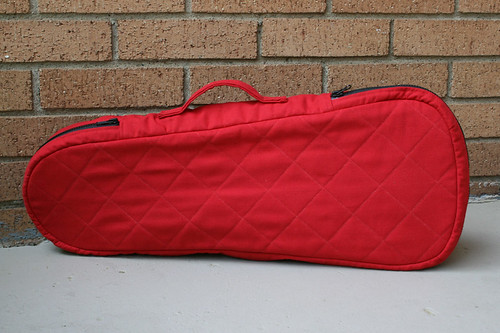
I made the pattern myself, and for winging it, I'm really happy with how it turned out! Longest zipper I've ever installed-- 48"!

uke gig bag 2

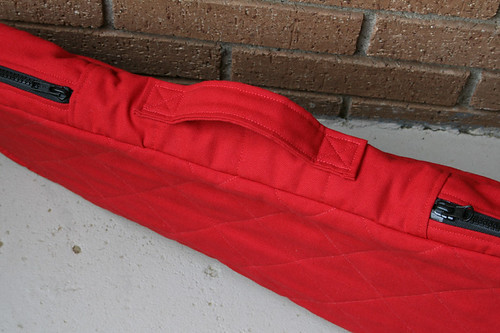
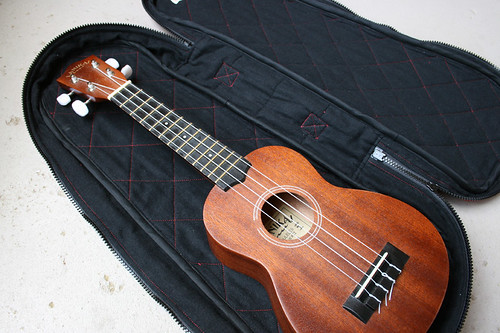
It's got durable duck cloth on the outside and soft flannel on the inside, with a layer of batting in between. My daughter was with me when I bought the fabric and she insisted we find red fabric because "it's daddy's favorite color!!".

uke gig bag 3

I quilted the three layers together and then cut out my pattern pieces. The inside seams are bound with double-fold bias tape.

uke gig bag 4

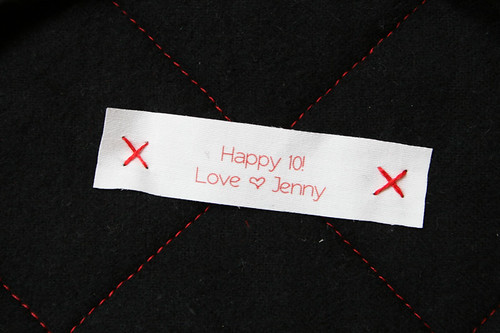
And a little label on the inside to commemorate the occasion :)