It seems the sewing gods did not want me to participate in KCW this week. After an early victory with the Hosh Pants, my sewing quickly went downhill. I spent most of the week working on the Oliver + S Music Class Blouse (I made the Music Class Skirt last fall, a great success!). I LOVE O + S patterns, but I made all the wrong choices with this one. The last straw came when I went to attach the collar and the notches were totally off, which is probably the result of using a french seam finish that threw off my 1/2" seam allowance. Now I have an almost-complete shirt and a collar with no hope of fitting.... *sad face*
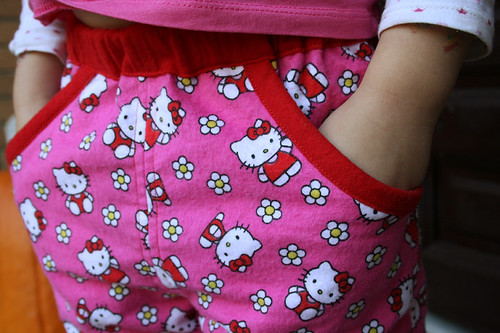
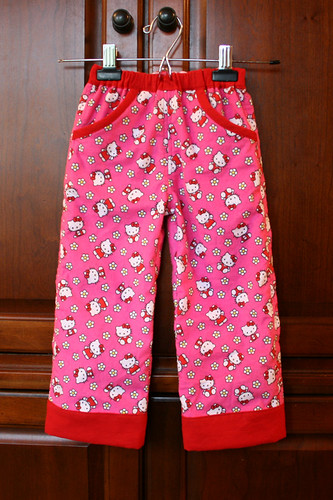
SO... I put that failure away for now and choose to move on to a nice, easy pair of pajama pants. I used the Basic Pocket Pants pattern from the book Growing Up Sew Liberated and a super cute Hello Kitty flannel.
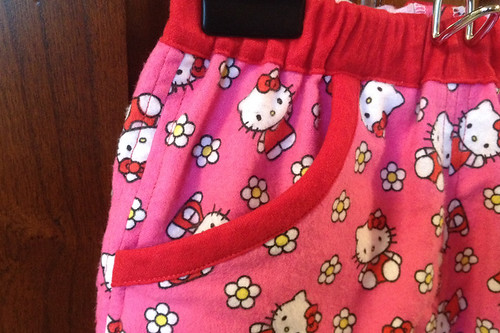
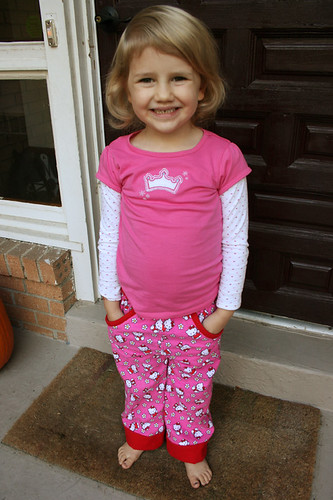
They took a little more time than the trace-and-sew kind of pajama pants I usually make for the kiddos, but I love the little details to this pattern! The contrasting cuffs, binding, and waistband are cute, and K absolutely loves the pockets! When she first saw the pants she exclaimed "THEY HAVE POCKETS?! For all my STUFF!"
I think I've got the clothes sewing out of my system for a while now, and I'm ready to get back to quilting and patchwork. I've got a few items to check off my to do list and then it's on to Christmas gift sewing! How did you do with your KCW sewing?
Sunday, October 27, 2013
Tuesday, October 22, 2013
KCW: Hosh Pants
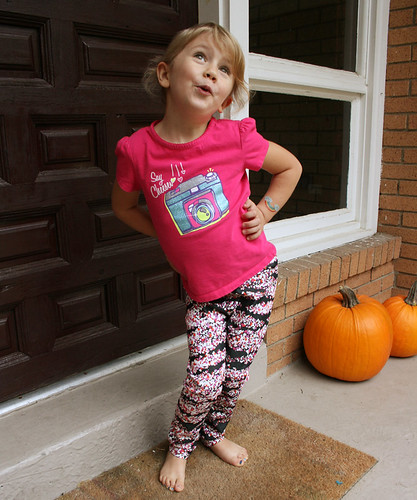
I finished my first piece for Kids Clothes Week and it's only Tuesday! It's the Hosh Pants pattern from LouBeeClothing.
This is the first official pants pattern I've ever sewn (I don't count all the flannel jammie pants I've made since those have all been of the trace-a-pair-of-existing-pants variety). I'm really happy with how they turned out and I'll definitely be using this pattern again.
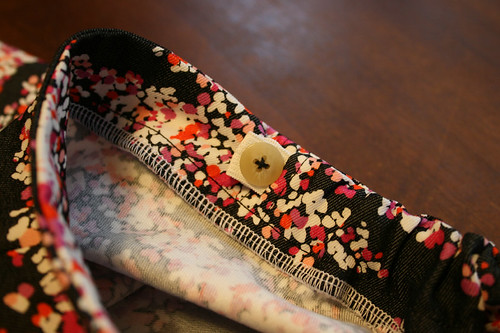
I was a little nervous with the sizing because K's measurements didn't line up well with any of the sizes. I decided to go with the 5T size. They're a tad big in the waist, but that's okay because one of the coolest features of this pattern is the adjustable waist! It uses buttonhole elastic like a lot of store-bought pants and I just love it! I'll definitely be using this technique for future pants construction.
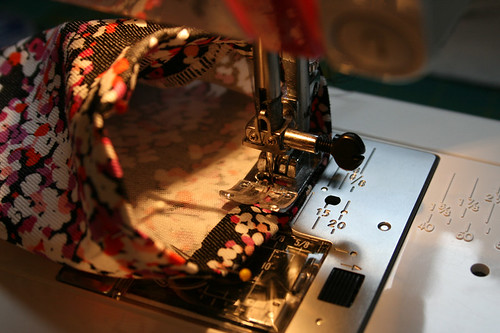
The pattern suggests hemming the pants before seeing them together, but because I was a little iffy on the sizing, I decided to leave the hemming until the end when I could give them a test fit. The original hem ended up being fine, and it wasn't too hard to work in that small leg opening either. I can't remember where I read this, but did you know that when working in a small area like that, it's easier to sew with your pressed foot on the inside?
I used a printed stretch denim I found at Joann's. I was hoping to find some stretch denim in some fun solid colors, but the selection was pretty limited (and kinda pricey too!). It's not something I would use for pants for myself, but this girl knows how to work it.
She didn't really have any shirts to go with these pants, but I plan to remedy that later this week!
Sunday, October 20, 2013
Doc McStuffins Costume
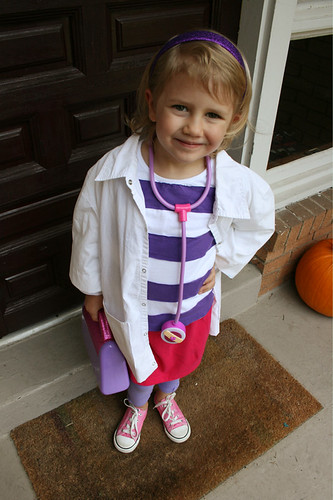
After listing off at least 20 different things she wanted to be for Halloween over the past month, K finally settled on Doc McStuffins. I wasn't about to pay $30+ for the poorly-made version available in stores. K loves to play dress-up (her princess and mermaid costumes are still worn quite frequently), and I know those cheap, paper-thin costumes won't hold up to her wear and tear.
Plus, the best part of Halloween is getting to make the costumes, right?!
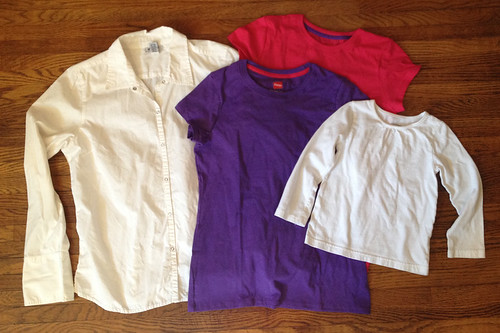
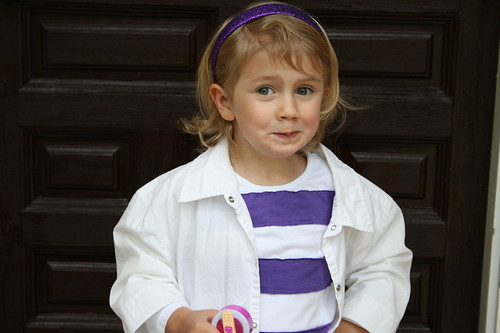
I was able to pull this together for less than $5! Here are the materials I used: two t-shirts I found for $1 each, an old button-down shirt from my closet, and a long-sleeve shirt K already had.
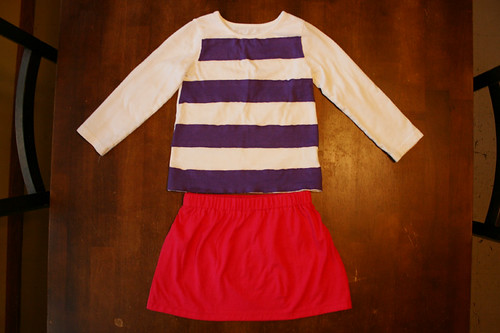
I used the pink t-shirt to make a simple skirt. Just cut it to length, made an elastic casing, and used the existing hem. Doesn't get much easier than that!
I cut strips from the purple t-shirt and used a zig-zag stitch to sew them onto the long-sleeve shirt.
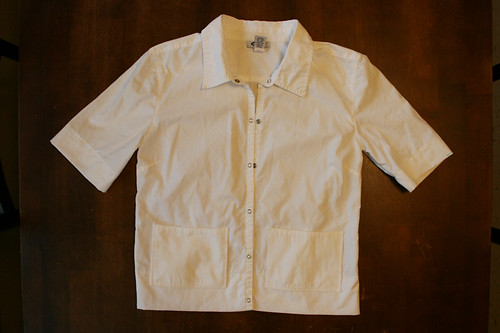
For the doctor's coat, I hemmed up the sleeves and bottom, and added pockets to the front. I attempted to take up the shoulders so it didn't look so droopy on her, but after some fussing with it I decided it wasn't worth the trouble. It is just a Halloween costume, after all. ;)
She already had the "official" Doc McStuffins bag and accessories (birthday gifts!), so she's all set!
And since I finished this costume with time to spare before Halloween, I can concentrate on Kids Clothes Week! I'm hoping to make 2-3 new garments this week-- wish me luck!
Subscribe to:
Posts (Atom)