
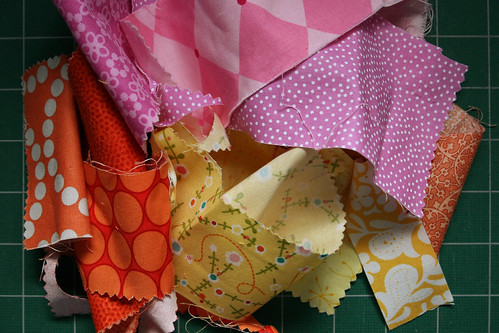
So yesterday I wanted to work on something that wouldn't frustrate the heck out of me. I've always liked paper piecing because you can sew up an accurate block without actually trying that hard—just sew on the lines. But I didn't have a particular block that I wanted to make, so I grabbed a hexagon and a pile of scraps.
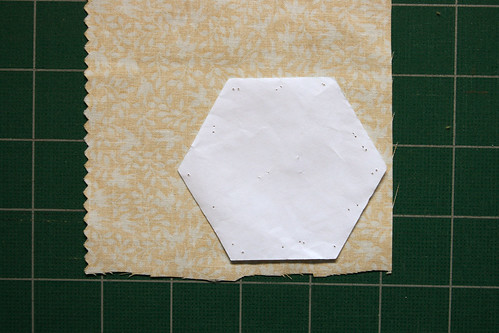
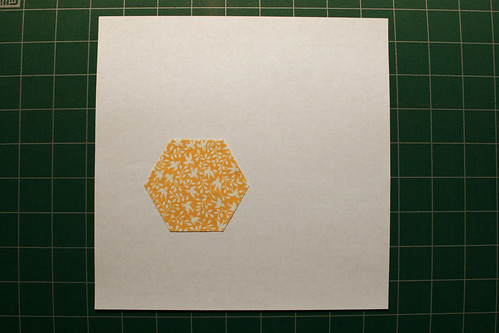
Don't mind the crinkly, pin-holed paper template. I borrowed one of the templates from my grandmother's flower garden quilt and it's been well-used. I cut out my hexagon shape and then used a dab from my glue stick to keep it in place on my paper foundation. I decided to sew strips to the hexagon, log cabin style. It's not a traditional paper piecing pattern, since I'm not sewing along pre-drawn lines, but the paper foundation helps keep things nice and crisp.
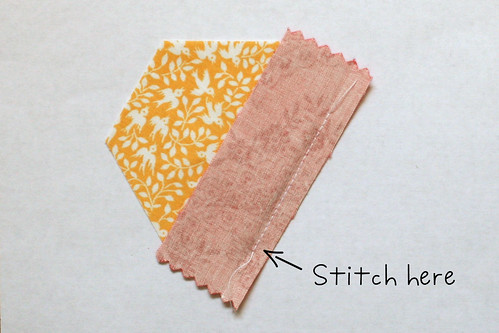
Line up a strip along one of the hexagon edges, right sides together, and sew a 1/4" seam.
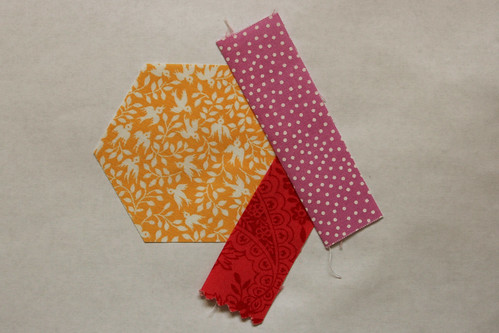
Press the patch open.

Line up a patch along the next hexagon edge and sew.

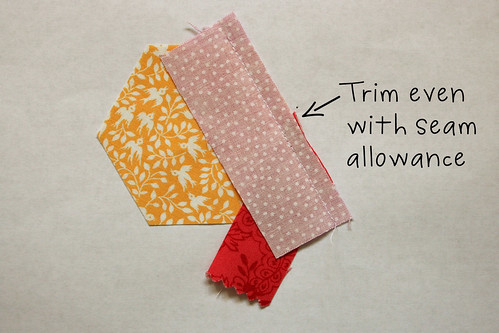
This time, trim the extra fabric past the seam allowance before pressing open. I just fold back the paper and use my scissors to trim, but I know some people actually get out the ruler and rotary cutter.
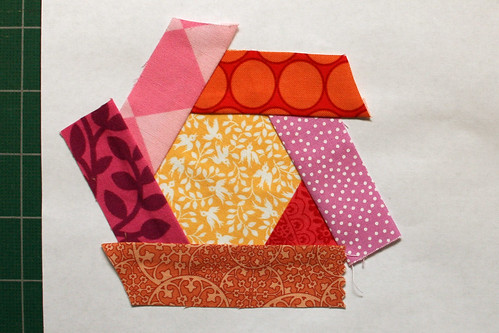
Continue attaching strips in the same manner. Here's my block with a complete round of strips around the hexagon.
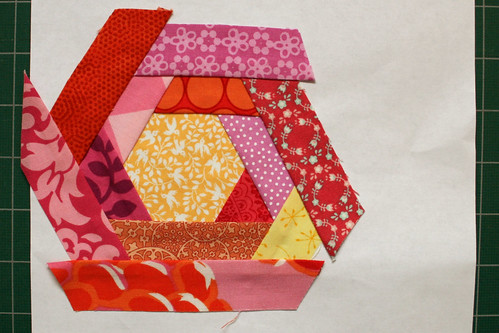
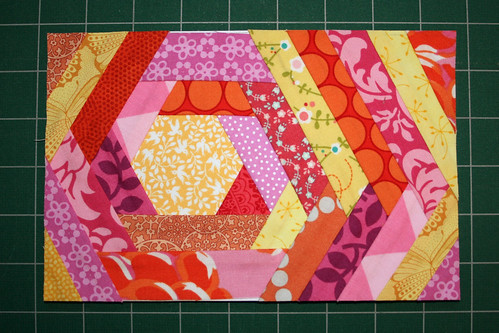
And here it is with another round. At this point I had an epiphany about what I should do with this block—it would make a cute zippered pouch! So I abandoned my original square block idea and decided to go rectangular.
Rather than continuing all the way around with my strips, I started only sewing them to the left and right sides. Here it is trimmed down to a rectangle.
You'll notice there's a little bit of the white paper showing at the top and bottom—oops! But that's also where using a foundation comes in handy. It makes up for a wee bit of seam allowance error and keeps everything held together properly until I sew the next piece on.
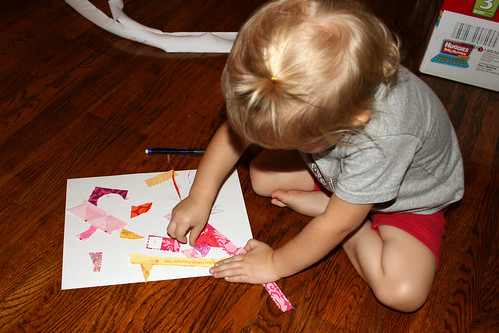
I didn't quite get this project done during naptime, so I had a little helper for a while. Here she is gluing fabric bits to paper- no scraps shall go to waste in this house!
That is beautiful and you make it look easy too.
ReplyDeleteJenny your stuff is awesome! I love checking in to see what you've come up with! Sooo talented!
ReplyDeleteLooks super! Love the helper too!
ReplyDelete