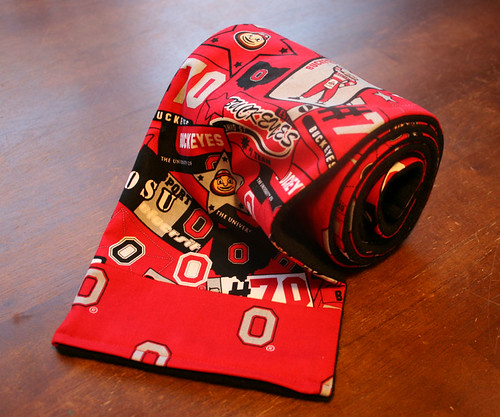
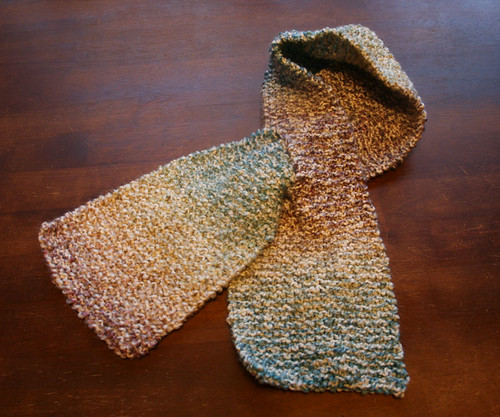
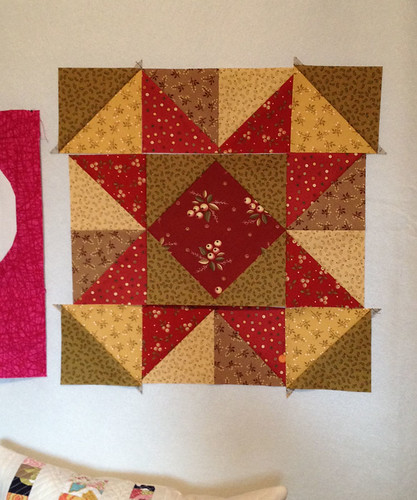
The gifts have all been given, so here's a quick post about the handmade gifts I made this year!
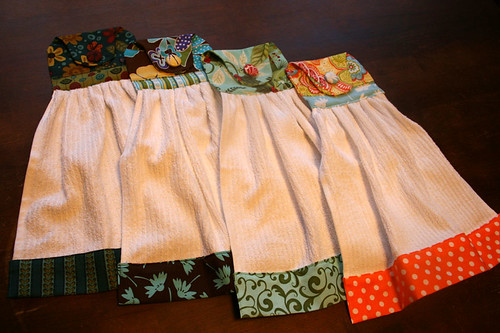
A handful of kitchen towels, made using this tutorial.
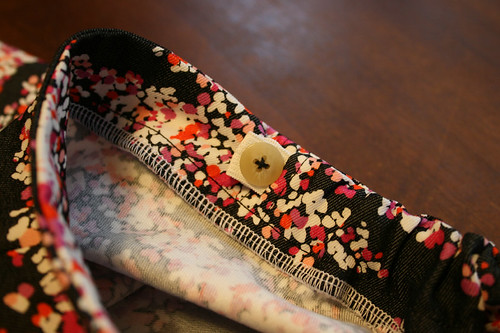
I made my own fabric covered buttons too!
A couple of scarves, one sewn and one knit.
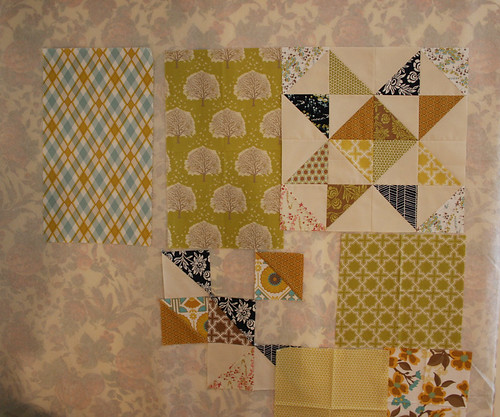
And one block that never materialized into a finished gift! :)
Wishing you all a happy 2014!
Tuesday, December 31, 2013
Wednesday, December 18, 2013
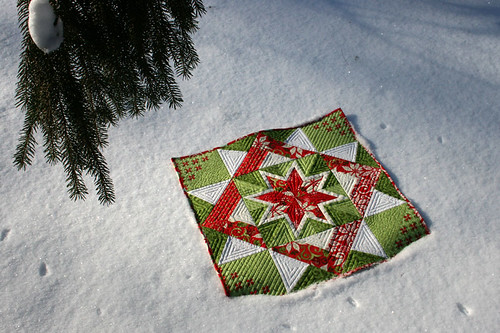
Christmas Star Quilt
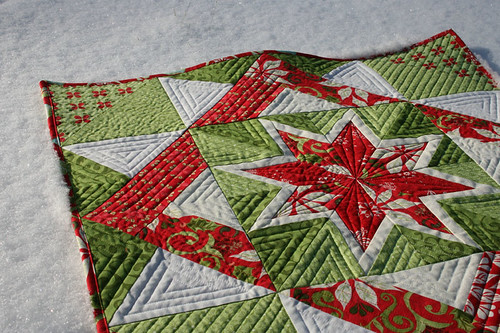
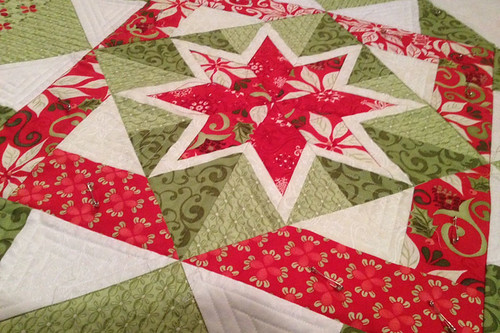
I did it! I finished this quilt before Christmas!
I finished it several days ago, but the weather has been so overcast and gloomy lately on the days that I've been off work, I haven't wanted to take pictures. The only reason I was able to take photos today is because I'm home with a sick kid sleeping on the couch. I tricked the sun- it knew I wasn't supposed to be home today!
Lots of straight line quilting, because I still keep talking myself out of free motion quilting on a "real" project. Those practice sandwiches are piling up though!
Now it's back to the mad rush of finishing the handmade gifts I have planned! The list keeps getting "amended" each day we get closer to Christmas... Happy Holidays Everyone!
Wednesday, December 11, 2013
Christmas Quilts: Making Progress!
Which is a good thing, since Christmas is TWO WEEKS away. Yikes.
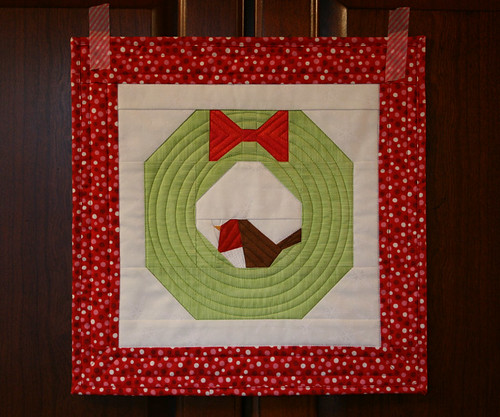
I finished this wreath block into a mini quilt and gave it to my mom as an early Christmas gift. The quilted circles gave it a modern feel that I hadn't intended, but I like it just the same!
You can find the pattern here.
And I'm quite close to finishing up my Christmas Star quilt.
I went with option A, if anyone's keeping track. ;) I hope to finish it up in the next day or two, otherwise I'll barely have time hang it up before Christmas has come and gone!
Tuesday, November 19, 2013
Christmas Star Block
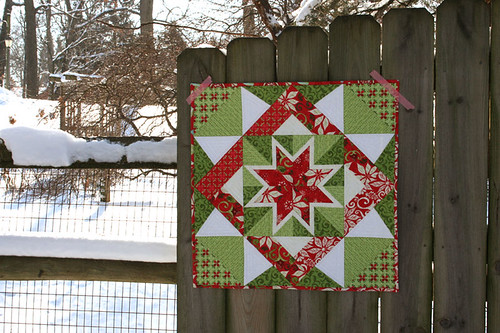
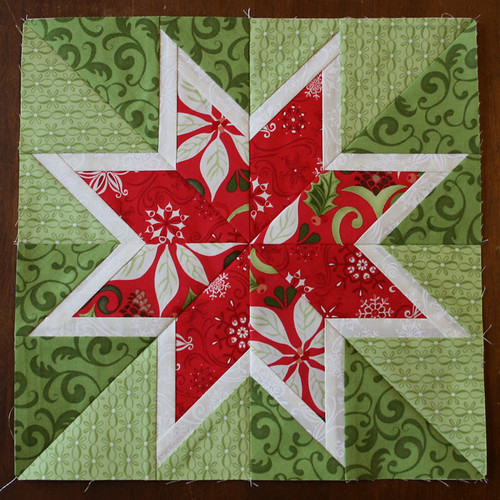
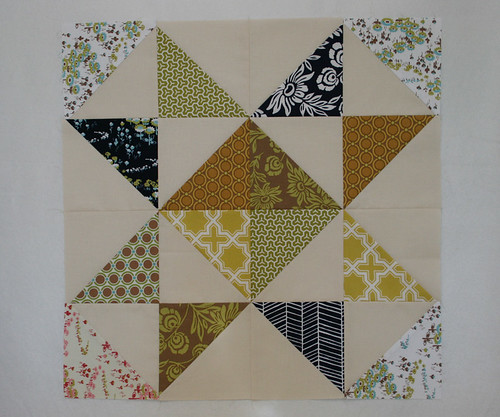
I made this star block over the weekend and just love it!
If I had all the time in the world, I'd love to make a full-size quilt of these stars. But I'm short on time and fabric, as I'm using the leftovers from the advent quilt I made a few years ago. The fabric is from Kate Spain's 12 Days of Christmas collection. I just love her holiday fabrics! I've been hanging on to a layer cake of her Joy collection too, just waiting for the right project to come along.
The above quilt is a pattern I designed for work, and you can download it for free here.
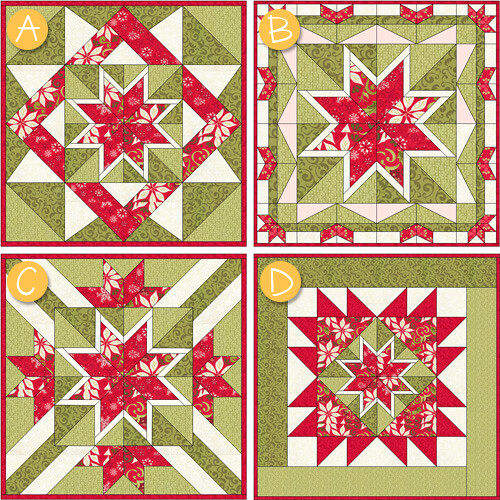
So now I'm trying to decide what to add to this block to make it into a decent wallhanging size. Here are a few options I've mocked up in EQ7:
I'm leaning towards A... what's your pick?
Tuesday, November 12, 2013
Another Speech Bubble
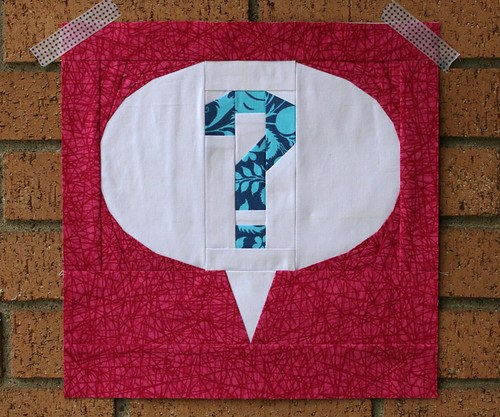
Sharing another block from my Speech Bubbles collection at My EQ Boutique. I think the "official" name of this block is Question Speech Bubble, but when I look at this block in my head I'm thinking "HUH?"
I made this block 12" x 12", but the best part of My EQ Boutique is that you can print the patterns you purchase at any size you like! Templates, foundation patterns, rotary cutting charts- you name it! Just type in your finished size and the program adds the seam allowance for you.
There's a sale going on at My EQ Boutique today only-- spend $30, get 30% off with code MYEQB30. Go check it out!
Thursday, November 7, 2013
In a Paper Piecing Mood
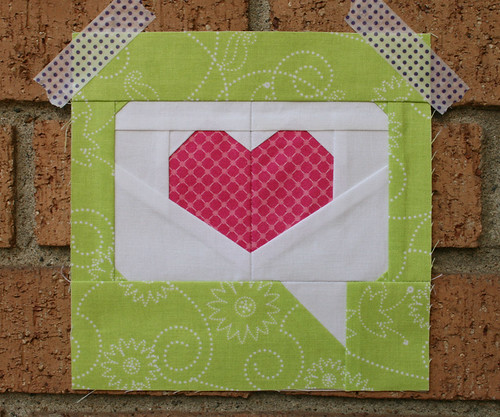
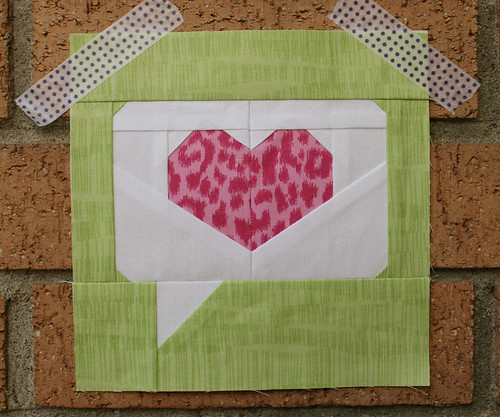
After all the garment sewing of Kids Clothes Week, I was ready to jump back into some quilting! Paper piecing is definitely my fav, so I whipped up a couple more blocks from my Speech Bubbles collection:
I think these two are destined to become a pillow. It's a little conversation-- "love you!" and "love you too!" :)
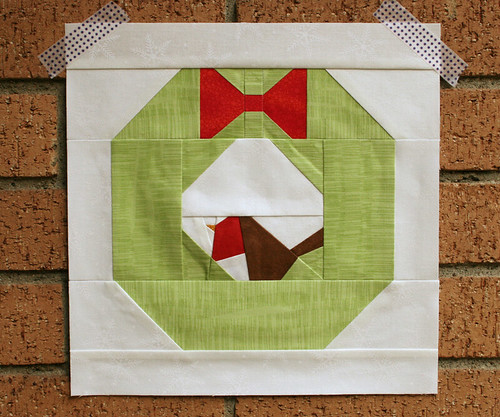
And as soon as I saw this block on Quiet Play, I knew I had to add it to my "to sew" list! I hate how the all the retail places start bombarding you with Christmas stuff earlier and earlier-- makes ya completely sick of the holiday by the time it actually gets here. But I will allow it for sewing/crafting purposes. ;) Ya gotta have time to make the Christmas stuff! So here it is, my first official Christmas sew of the season:
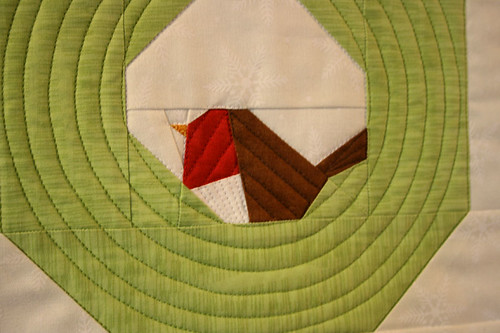
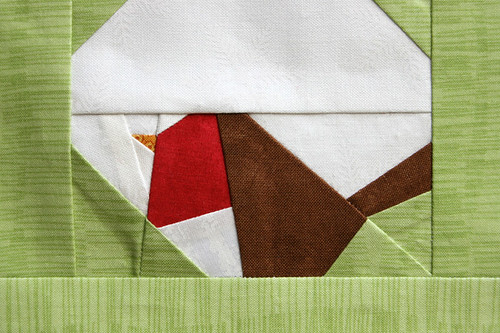
I think it was this little bird that got me hooked. Isn't she cute? I only wish I had used a different fabric for her belly. It is a different white-on-white fabric from the background snowflake fabric, but I don't think you can see that very well. Ah, live and learn!
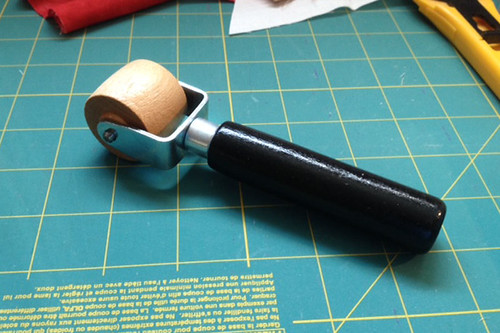
Back in June I went to the Chicago Quilt Festival for work, and while I was there I "splurged" on a Curve Master presser foot. They were also selling these wooden seam rollers, so I got one of those too.
I haven't played with the presser foot much, but I've used the seam roller and it's perfect for "pressing" the seams in paper pieced blocks! I love not having to walk across the room to my ironing board after every little seam. If you're a paper piecer, I highly recommend!
For the first time, I'm linking up with:
Sunday, October 27, 2013
KCW: Basic Pocket Pants
It seems the sewing gods did not want me to participate in KCW this week. After an early victory with the Hosh Pants, my sewing quickly went downhill. I spent most of the week working on the Oliver + S Music Class Blouse (I made the Music Class Skirt last fall, a great success!). I LOVE O + S patterns, but I made all the wrong choices with this one. The last straw came when I went to attach the collar and the notches were totally off, which is probably the result of using a french seam finish that threw off my 1/2" seam allowance. Now I have an almost-complete shirt and a collar with no hope of fitting.... *sad face*
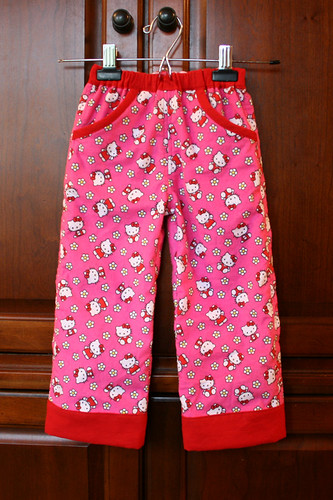
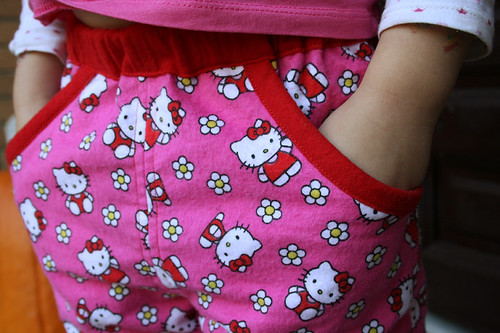
SO... I put that failure away for now and choose to move on to a nice, easy pair of pajama pants. I used the Basic Pocket Pants pattern from the book Growing Up Sew Liberated and a super cute Hello Kitty flannel.
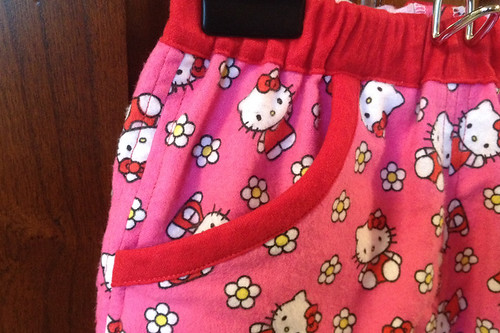
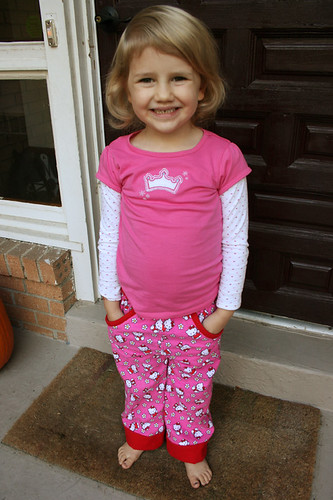
They took a little more time than the trace-and-sew kind of pajama pants I usually make for the kiddos, but I love the little details to this pattern! The contrasting cuffs, binding, and waistband are cute, and K absolutely loves the pockets! When she first saw the pants she exclaimed "THEY HAVE POCKETS?! For all my STUFF!"
I think I've got the clothes sewing out of my system for a while now, and I'm ready to get back to quilting and patchwork. I've got a few items to check off my to do list and then it's on to Christmas gift sewing! How did you do with your KCW sewing?
Tuesday, October 22, 2013
KCW: Hosh Pants
I finished my first piece for Kids Clothes Week and it's only Tuesday! It's the Hosh Pants pattern from LouBeeClothing.
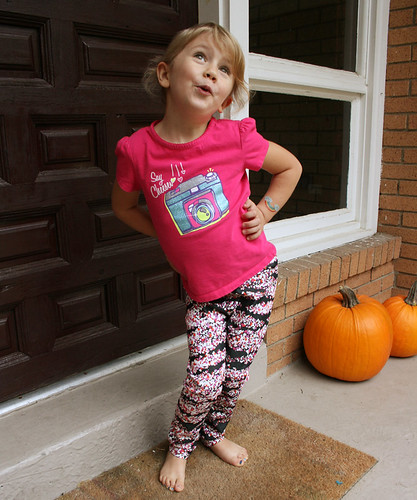
This is the first official pants pattern I've ever sewn (I don't count all the flannel jammie pants I've made since those have all been of the trace-a-pair-of-existing-pants variety). I'm really happy with how they turned out and I'll definitely be using this pattern again.
I was a little nervous with the sizing because K's measurements didn't line up well with any of the sizes. I decided to go with the 5T size. They're a tad big in the waist, but that's okay because one of the coolest features of this pattern is the adjustable waist! It uses buttonhole elastic like a lot of store-bought pants and I just love it! I'll definitely be using this technique for future pants construction.
The pattern suggests hemming the pants before seeing them together, but because I was a little iffy on the sizing, I decided to leave the hemming until the end when I could give them a test fit. The original hem ended up being fine, and it wasn't too hard to work in that small leg opening either. I can't remember where I read this, but did you know that when working in a small area like that, it's easier to sew with your pressed foot on the inside?
I used a printed stretch denim I found at Joann's. I was hoping to find some stretch denim in some fun solid colors, but the selection was pretty limited (and kinda pricey too!). It's not something I would use for pants for myself, but this girl knows how to work it.
She didn't really have any shirts to go with these pants, but I plan to remedy that later this week!
Sunday, October 20, 2013
Doc McStuffins Costume
After listing off at least 20 different things she wanted to be for Halloween over the past month, K finally settled on Doc McStuffins. I wasn't about to pay $30+ for the poorly-made version available in stores. K loves to play dress-up (her princess and mermaid costumes are still worn quite frequently), and I know those cheap, paper-thin costumes won't hold up to her wear and tear.
Plus, the best part of Halloween is getting to make the costumes, right?!
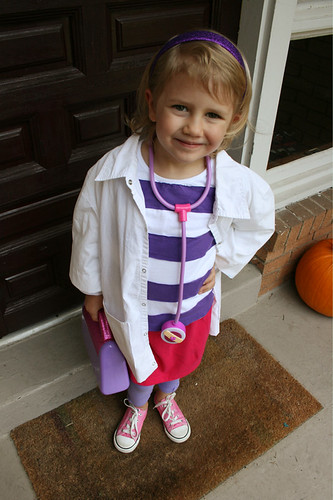
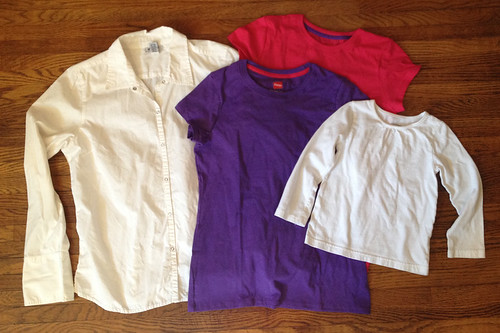
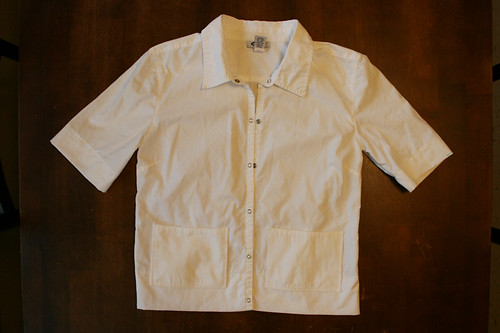
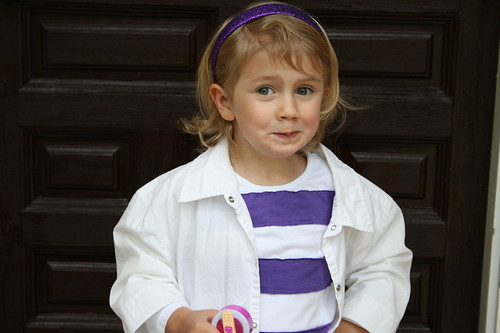
I was able to pull this together for less than $5! Here are the materials I used: two t-shirts I found for $1 each, an old button-down shirt from my closet, and a long-sleeve shirt K already had.
I used the pink t-shirt to make a simple skirt. Just cut it to length, made an elastic casing, and used the existing hem. Doesn't get much easier than that!
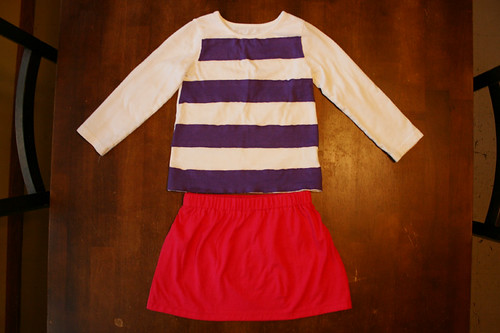
I cut strips from the purple t-shirt and used a zig-zag stitch to sew them onto the long-sleeve shirt.
For the doctor's coat, I hemmed up the sleeves and bottom, and added pockets to the front. I attempted to take up the shoulders so it didn't look so droopy on her, but after some fussing with it I decided it wasn't worth the trouble. It is just a Halloween costume, after all. ;)
She already had the "official" Doc McStuffins bag and accessories (birthday gifts!), so she's all set!
And since I finished this costume with time to spare before Halloween, I can concentrate on Kids Clothes Week! I'm hoping to make 2-3 new garments this week-- wish me luck!
Plus, the best part of Halloween is getting to make the costumes, right?!
I was able to pull this together for less than $5! Here are the materials I used: two t-shirts I found for $1 each, an old button-down shirt from my closet, and a long-sleeve shirt K already had.
I used the pink t-shirt to make a simple skirt. Just cut it to length, made an elastic casing, and used the existing hem. Doesn't get much easier than that!
I cut strips from the purple t-shirt and used a zig-zag stitch to sew them onto the long-sleeve shirt.
For the doctor's coat, I hemmed up the sleeves and bottom, and added pockets to the front. I attempted to take up the shoulders so it didn't look so droopy on her, but after some fussing with it I decided it wasn't worth the trouble. It is just a Halloween costume, after all. ;)
She already had the "official" Doc McStuffins bag and accessories (birthday gifts!), so she's all set!
And since I finished this costume with time to spare before Halloween, I can concentrate on Kids Clothes Week! I'm hoping to make 2-3 new garments this week-- wish me luck!
Wednesday, September 25, 2013
WIP Wednesday - 9/25/13
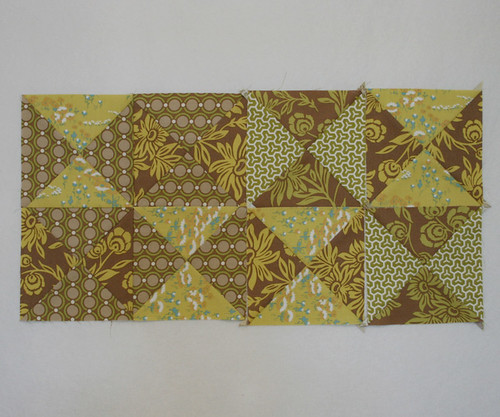
I finally finished this quilt top so now I'm working on piecing together a back from the left over bits and pieces I have from the front. I had a handful of HSTs and I used up what little I had left of the khaki solid to make a few more.
I just love stars. I don't know why I don't make more of them!
In some ways I enjoy putting together a back more than the front. I like the improv aspect and maybe there's less pressure to get it "just right" since its the back.
Hope to be quilting soon!
I just love stars. I don't know why I don't make more of them!
In some ways I enjoy putting together a back more than the front. I like the improv aspect and maybe there's less pressure to get it "just right" since its the back.
Hope to be quilting soon!
Tuesday, September 17, 2013
Reversible Wrap Shirt
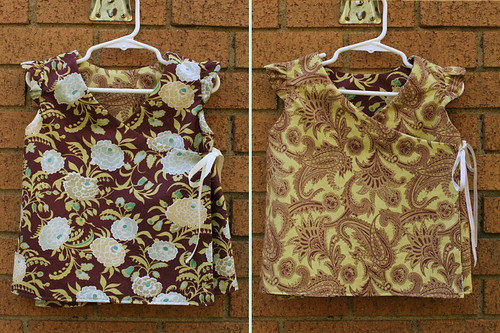
I've been itching to make some more clothes for K, but I needed something that wouldn't take me ages to finish. I found a great (almost) instant gratification project in this free pattern on the Birch Fabrics blog by CINO.
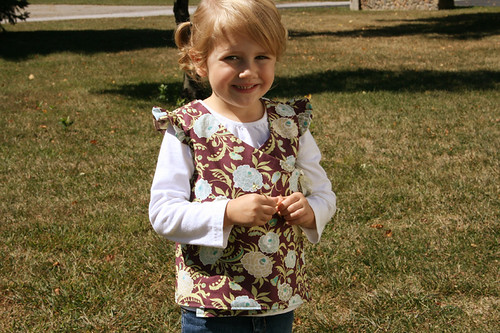
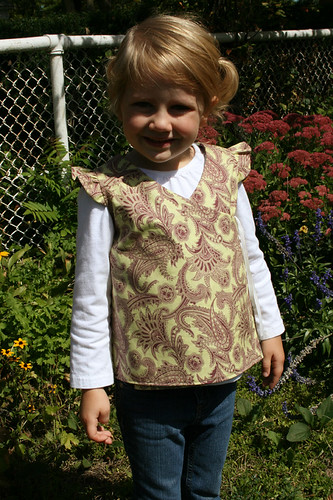
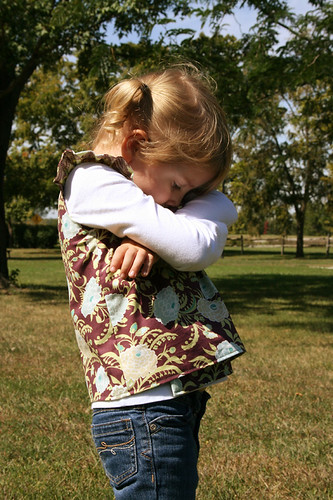
It's a quick, easy sew with just enough cute factor in those ruffled sleeves to give it some personality. I made the 4/5 size and it fits nicely over a long sleeve shirt. I probably should have made it a smidge longer than the pattern. I always seem to forget I've got a long-waisted girl.
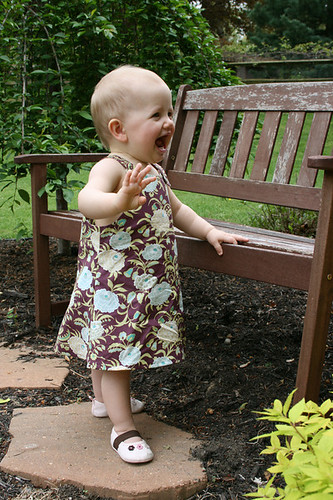
Who doesn't love a reversible shirt that can work double time? This fabric is more left over tradeshow table covers from work using vintage* Gypsy Caravan by Amy Butler. I used this fabric for the first dress I ever made for K. Oh, do I miss her being that little!
She's growing up to be a pretty awesome kid though.
And the photo shoot is over!
*Vintage = as in the first release back in the early 2000s, not from the re-release a year or two ago. I had Amy Butler in my Stash before it was cool. Ok fine, she was always cool.
Labels:
amy butler,
gypsy caravan,
reversible,
shirt,
top,
wrap shirt
Friday, September 13, 2013
Speech Bubbles Blocks
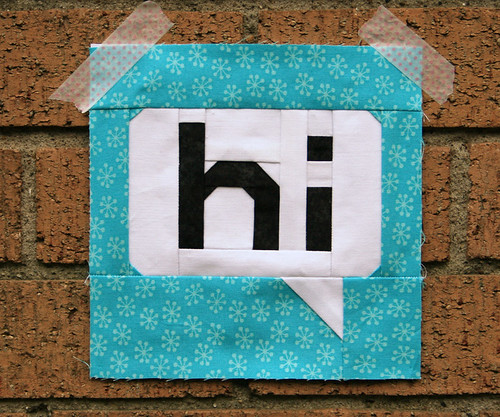
I have some exciting news to share- I'm designing block patterns on My EQ Boutique! The Hi block below is part of my first foundation pieced collection called Speech Bubbles available here.
Here's a little preview of the collection:
If you haven't seen My EQ Boutique before, you should totally check it out! You get to download the software for free and then you can print the block patterns from the site at any size you want. So even though I made the Hi block above at 6", you could choose to make it at 12" (or 5"... or 8.75"... whatever size you want!).
You also get to pick whether you want to buy individual blocks or the whole collection (at a great price!). There are several free collections you can download to try it out. I highly recommend!
There's also a flash sale going on right now at My EQ Boutique! Use code Friday13 for 25% off your purchase until 11:59 pm EST September 13th.
Wednesday, September 11, 2013
Mario Quilt
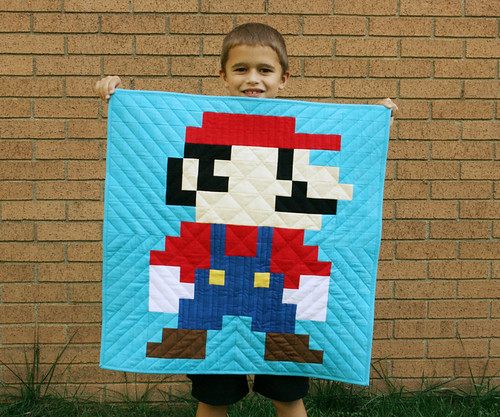
Even though his current video game obsession has shifted to Minecraft, the kiddo still loved the Mario quilt I made him.
Inspired by Cut to Pieces' Mario quilt, but the interfacing technique I used for piecing was more similar to Oh Fransson's tutoral (which I also used for my Scrappy Postage Stamp quilt!).
This past summer has not been great for my blogging, but I hope to get back at it more this fall! Stay tuned for more updates soon! :)
Tuesday, July 30, 2013
Improv Flower Block
There has still been plenty of sewing and general craftiness around here this summer, just not much bloggin' about it. I think that's the case for a lot bloggers out there, especially if they have kids home on school break. Summertime is just not meant to be spent inside at a sewing machine (or a computer!).
I've got several hand piecing and embroidery projects going right now- perfect for traveling or lawn chair-sitting while the kids are in the sprinkler. But the progress on those projects is slow and I haven't felt much like sharing.
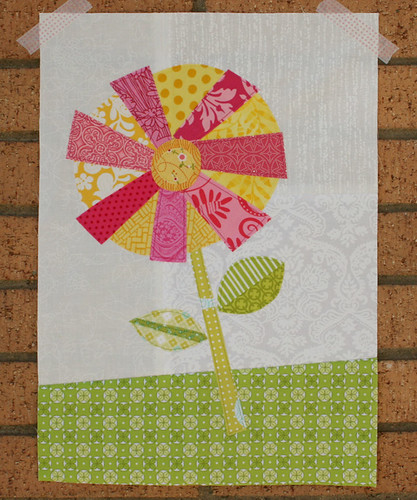
However, this weekend was rainy and a bit chilly and my sewing machine was crying out for use, so I whipped up this little improv flower to get back on the sewing wagon.
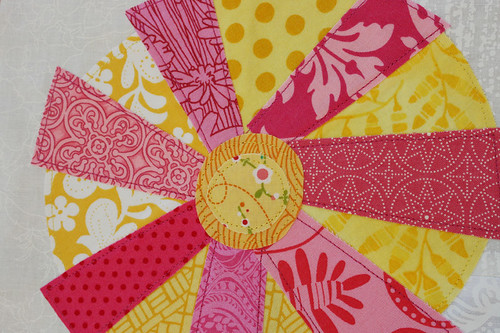
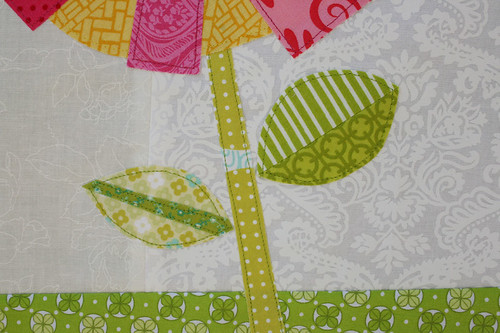
It's mostly fused appliqué, but there are a few pieced bits—the background, the yellow circle of the flower, and one of the leaves. It was fun to pull out the scrap bin and go nuts. Geez did I make a mess of my sewing room in the process!
I think those two little leaves are my favorite part. I could make a whole quilt of funky little leaves like that!
Subscribe to:
Posts (Atom)