Christmas always kicks my butt and this year was no exception. So many errands, and shopping, and baking, and merriment to be made! Add a little boy's birthday three days after Christmas, and December is a busy month at our house.
So, here's a recap of the sewing I've done this month:
Christmas Jammies!
You'll notice that this is a different fabric than the jammie pants in the first post. I only bought a "test" amount of fabric the first time around. I wanted to try out a pair of pants first before committing to buying enough fabric for everyone. I went back to Joann's a few days after Thanksgiving (it was still November, mind you!) and they didn't have any of the flannel snowmen fabric left. In fact, they had very little Christmas fabric left at all. Apparently everyone else thinks about their Christmas sewing much, much earlier than I do!
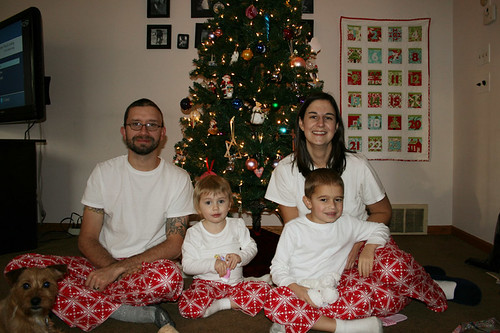
Here we are in all our Christmas morning glory. This fabric certainly wasn't my first choice, but I was left with few options. I don't mind it in the kids' sizes, but the adult versions are a tad blinding.
Redwork Embroidery
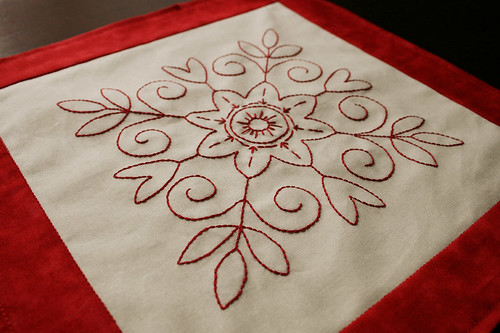
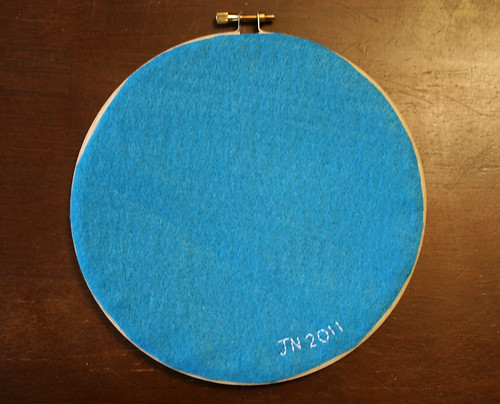
A little embroidery piece for the grandma-in-law (she just turned 99!). The pattern is from a magazine called Christmas 365.
Laminated Tote Bag
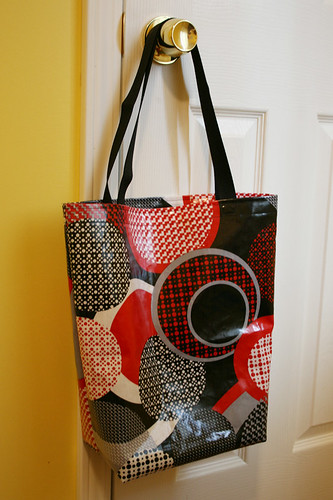
A simple laminated tote bag for the mom-in-law. After making this apron with laminated cotton, I've been looking for more projects that I can use laminate with. When I saw this fabric I immediately thought of my MIL because she's a big OSU fan and the colors are perfect. It's OSU-esque without having a big Brutus on it.
Quilted Oven Mitt
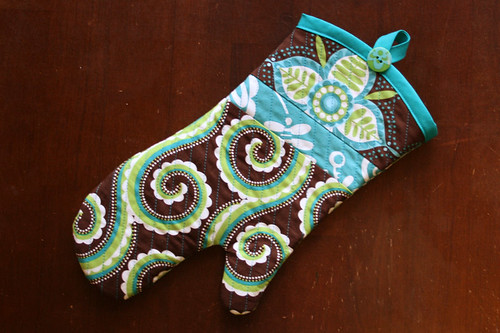
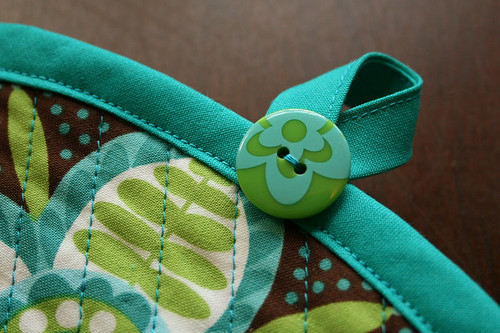
This may be my favorite gift I made this season- a quilted oven mitt for my mom. It was hard not to keep this for myself! I even had the perfect button in my sewing box for the hanging loop. Being a craft supply hoarder really pays off sometimes!
So that was my month in sewing. Here's to a happy 2012!
Saturday, December 31, 2011
Thursday, December 1, 2011
ltts sew along: mittens
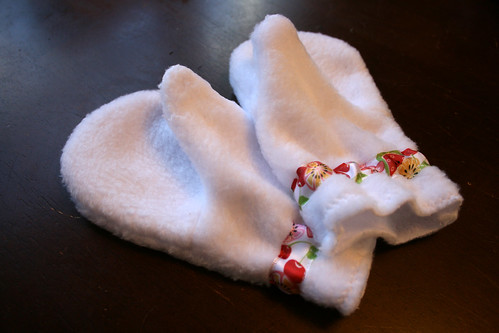
I knew I didn't have time to make the puppet theater this month for the oliver + s sew along, but I didn't want to break my streak of participating each month, so I made the mittens. I finished one mitten last night and the other one this morning, so at least half the project was completed in November!
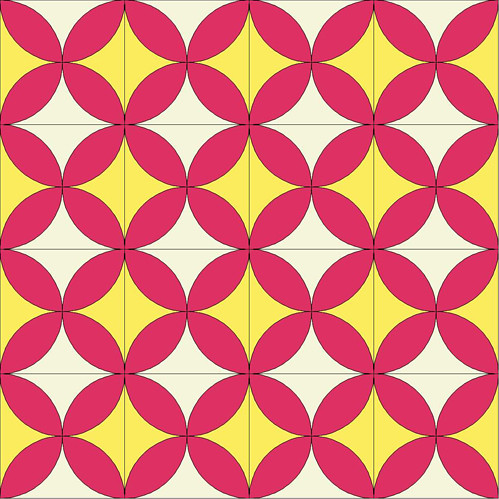
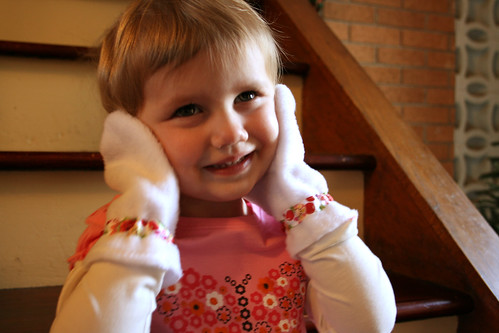
A nice quick project with cute results! I made the small size, but they're still a tad big on my 2.5 year old. It was a cheap project too because I used some fleece I already had (although it's not the best quality, so I don't know how well it will hold up in the long run). I used one of my machine's decorative stitches to finish off the cuffs, although I doubt you can see it in the photos.
I used ribbon for the elastic casing instead of bias tape. I have a ton of ribbon, but rarely find myself using it, so it was nice to find a project for it!
Kudos to those that actually made the puppet theater!
Saturday, November 26, 2011
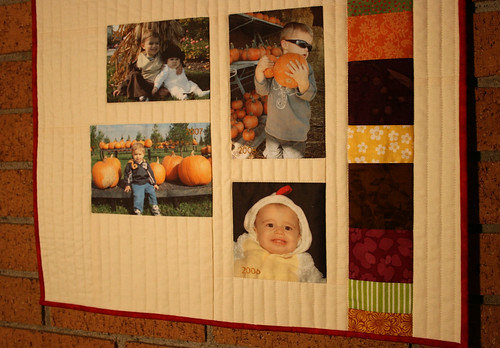
Fall Memories Photo Quilt
I love Fall! Love the cooler temps, cozy sweaters, and changing colors. It also has many of my favorite family fun activities like visiting the pumpkin patch and dressing up for Halloween.
I've wanted to make a quilt using family photos for quite a while and decided that "Fall" would be a good theme for such a quilt. I have so many great photos from all our various fall activities that I had a hard time choosing just one from each year!
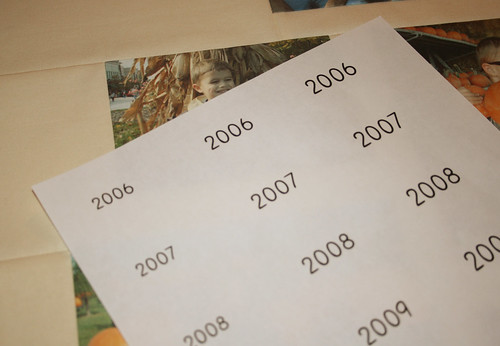
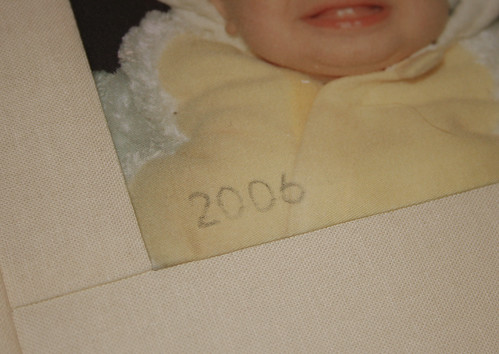
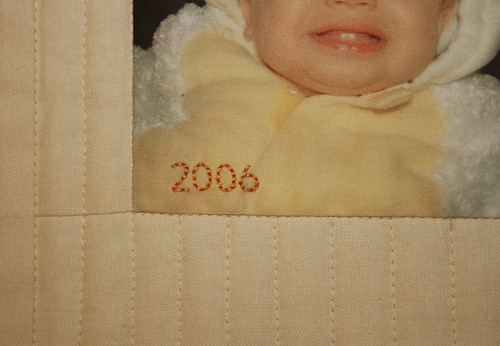
I embroidered the year on each of the photos. I don't like to freehand letters/numbers for embroidery because I'm too much of a perfectionist, so I usually like to work something up on the computer and print it out. Here's my super simple way to transfer lettering/numbers from a printout:
Start with a printout. I wasn't sure how large I wanted the numbers, so I made several different sizes on the same sheet.
Flip the printout over and use a pencil to color over the letters/numbers.
Place the printout face up over your fabric and trace the numbers with your pencil. Go over each number several times and lift up a corner to check your transfer before moving the printout.
And ta-da! You have your numbers transferred to your work surface!
It's a subtle addition to each photo (maybe a little too subtle on a couple of photos!), but a nice way to help save the memory.
I used EQ Printables printable fabric for my photos.
Now to find the perfect place to hang this new quilt!
----------
And just in time, I've finished this quilt to link up to Celebrate Color!
Thursday, November 17, 2011
Christmas Jammies
For YEARS I have wanted to have matching family pajamas for Christmas morning. I know it's totally cheesy, but cheesy family moments make the best memories. The last two years I've been able to find reasonably priced matching Christmas pajamas for the kids, but now with A in the honest-to-goodness BOYS section I don't think I'll be able to that again this year.
There are plenty of store-bought options out there. But have you ever priced matching family pajamas? I just can't justify spending $150+ on jammies. I mean, I'm serious about embarrassing my children later with the photos, but not $150 serious.
So I'm finally thinking about it early enough this year that I'm going to make the jammies! Well, probably just pajama pants for everyone. I'm planning on solid color t-shirts for the tops. I may appliqué a little something on the shirts if I get the time (and we all know how easy it is to find extra time during the holidays). I've started with K's pants, because they're the smallest and therefore the quickest to finish!
I did the ol' make-a-pattern-from-an-existing-pair-of-pants thing. There's been discussion among the Oliver + S sew along peeps about using freezer paper for pattern pieces in order to avoid pinning. I've used freezer paper for my last couple of sewing projects and, oh my gosh, why didn't I start doing this earlier?
I added an inch and a half at the top for the waistband casing and another inch and a half at the bottom for hemming. I thought I was giving myself an extra wide hem. But when I tried them on her to check the length, I didn't end up having as much extra fabric as I was expecting. She hasn't worn those purple pants in a month or so and she must have had a growth spurt!
I'd like all these matching pants to last a few Christmases, so my plan was to make an extra wide hem that I could let down each year as needed. I also didn't completely sew the elastic casing closed. I don't think leaving this little opening makes a big difference, and this way it will be easier to adjust the waist in coming years.
Don't mind the too small shirt. As I mentioned before- growth spurt! She's also in a hurry to get them back off because this was right before bath, and she'd much rather be playing in the bath than posing for photos.
One pair down, three to go!
Wednesday, November 16, 2011
Tuesday, November 15, 2011
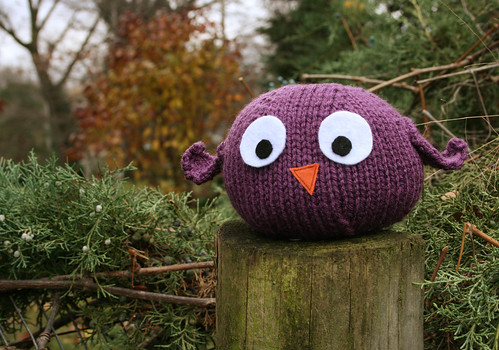
Hooty Hooterson
Remember this pumpkin, that was supposed to be an owl? Well I made the pattern again and it actually resulted in an owl this time!
Pattern from Just Crafty Enough. Love the little flippy wings!
Friday, November 11, 2011
In Observance of Corduroy Day
How are you celebrating Corduroy Day?
What's that? You've never heard of Corduroy Day? Corduroy Day is celebrated on dates that look most like the vertical lines of corduroy. And today, 11|11|11, is the date that most resembles corduroy EVER. And it just so happens to be my birthday too. I hope everyone has planned accordingly.
What better way to honor the day than to sew something from the fabric?
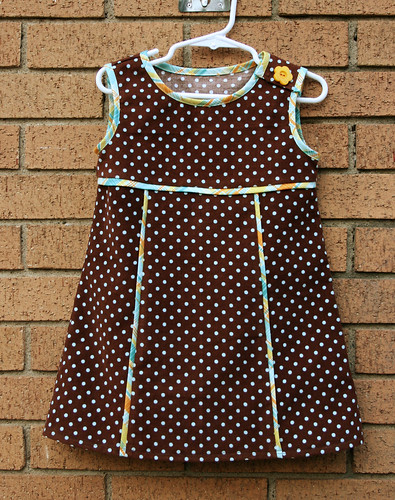
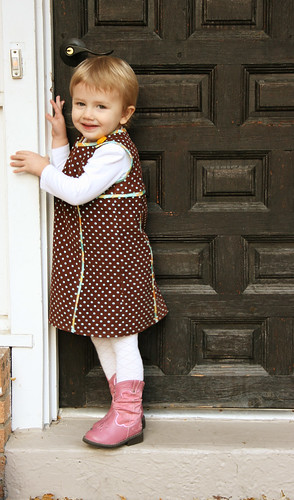
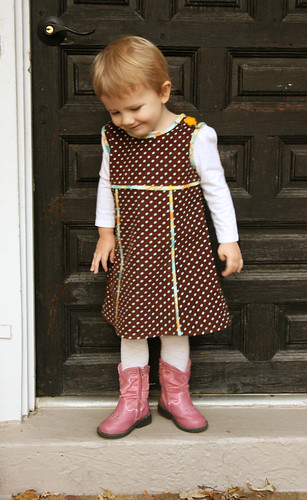
The pattern is Simplicity-Little Lisette 2063. Little Lisette is a division of Oliver + S. I just can't get enough of those patterns!
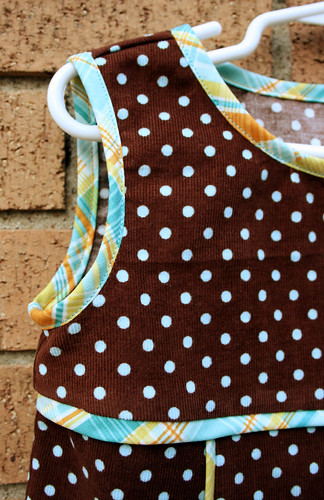
The corduroy was a clearance fabric I picked up at Joann's a couple months ago. For the piping detail, I pictured using a subtle tone on tone blue that matched the polka dots. But when I started looking I found this plaid and decided it would be fun and I love the way it turned out! That's one of the benefits of sewing clothes yourself, right? You get to make something a little unexpected, or choose combinations that you wouldn't normally find in a store.
The pattern called for single-fold bias binding on the armholes, but I like the plaid fabric so much, I decided to use it there too. Plus, when I used bias binding on the armholes of this dress I had all kinds of problems, so I thought this would be the easier way to go.
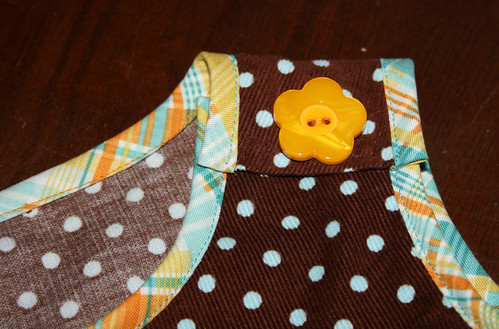
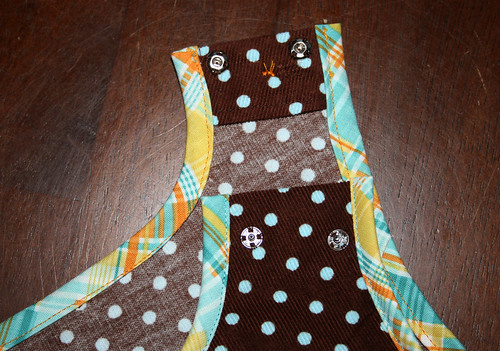
Of course this project didn't come without its problems. That yellow flower button—purely decorative. After fussing with the buttonhole settings on my sewing machine for close to an hour, and making about 15 practice holes on scrap fabric, I put the dress under the needle and it screwed up the stitches halfway through. After much grumbling and seam ripping I tried it again and it jammed up for a second time. At that point, the fabric was chewed up enough that I don't want to try it again for fear that it will be ruined altogether. In the end, my solution was to sew little snaps to the strap and use the button on the outside to hide the chewed up fabric underneath. For what could have been a complete disaster, I feel like it worked out pretty well in the end.
And here are a couple of attempts to take a photo on the little recipient. Two year old models.... *sigh*.
------
I'm going to link this up over at Stitched in Color's Celebrate Color. Go check out all the beautiful projects!
Thursday, November 3, 2011
The Family - In Cross Stitch Form
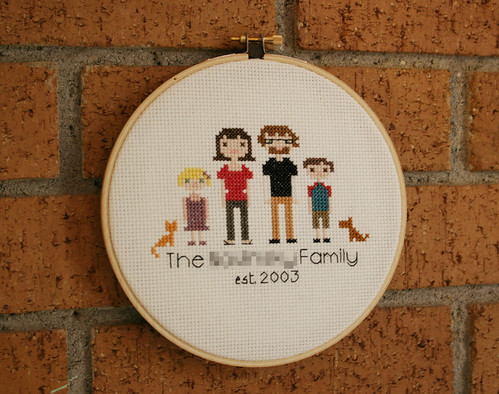
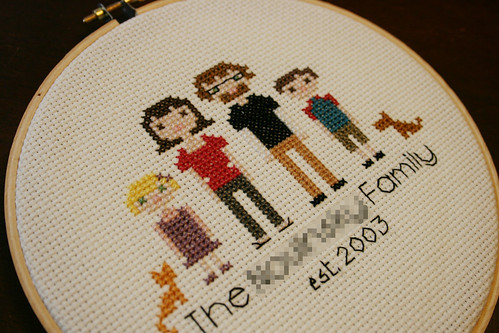
Or maybe pixelated 80s video game form. That's what these little cross stitched people remind me of. I found the patterns on Martha Stewart's site. There are a lot of different options for customizing your family- so fun to pick and choose! And luckily I have a ton of embroidery floss, so I had plenty of colors on hand to choose from.
Although my husband asked why he was wearing gold pants. They're khaki! Sheesh... The kids love it though- "That's me!" Who knew seeing a little cross stitched version of yourself could be so exciting?
I even finished it nicely on the back, which I rarely bother to do with these things.
This was way easier than our last actual portrait sitting. A was 2.5 when we tried to have a nice family photo taken. It was a disaster. A very expensive disaster. I was so traumatized by the event that A is almost 6 now and I haven't had another professional picture taken since then.
Sunday, October 30, 2011
Halloween!
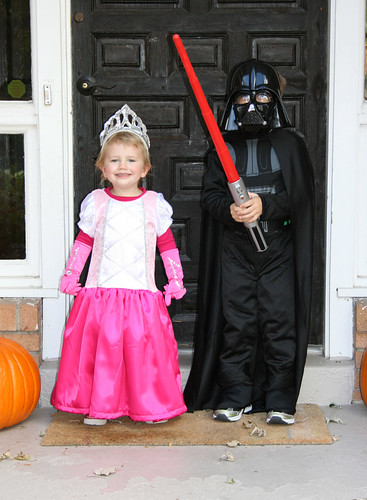
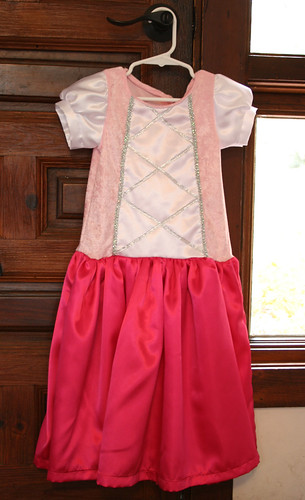
I finished K's princess costume earlier this week and, if I do say so myself, she's adorable!
Darth Vader is pretty handsome, too.
Surprisingly, this was one of those rare times when sewing something myself was less expensive than buying the ready-made version. Most of the princess costumes I saw in the store were around $25-$30 (and they had a Disney princess face plastered on them). The materials for this project cost me $15, and I bought extra fabric because I couldn't decide on which shade of pink I liked for the bodice, so I bought both.
It ended up kinda big on her, but I wanted to allow for plenty of layers underneath. This is Ohio, so it could be 30 degrees or 80 degrees on Halloween, you never know. Plus, this way she can use it for years to come as a dress up outfit. I was really crossing my fingers when I hemmed the skirt- who knew it would be difficult to get a 2.5 year old to stand still for a measuring?
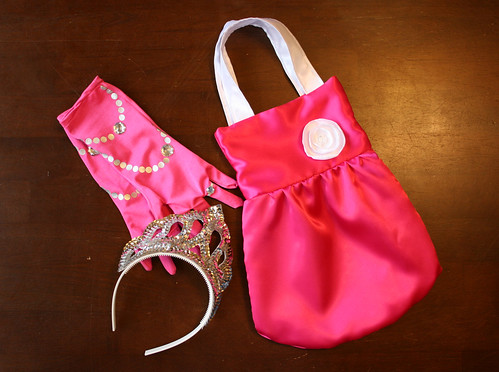
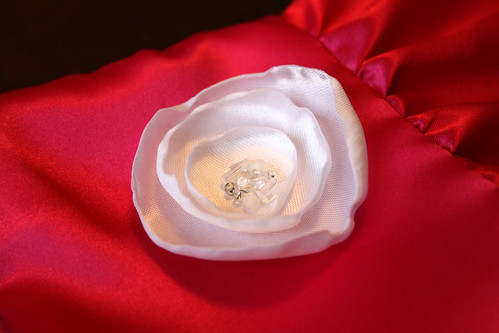
I bought the crown and gloves, but I made the purse/trick-or-treat bag. I didn't use a pattern for the bag- just kind of winged it based on the amount of fabric I had left. I think the proportions look a little off because of this lack of planning, but it'll look better when it's filled with candy. *wink*
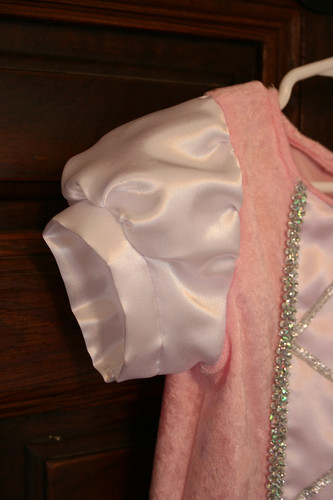
My favorite part is the puffed sleeves. So cute! Make It and Love It's tutorial for this dress was awesome. I'm so proud of myself for drawing my own little pattern for these sleeves. I'll definitely be using these little puffed guys again.
Hope everyone has a safe and happy Halloween!
Friday, October 28, 2011
Excited? Um, Yes!
I submitted my Circles & Circles & Circles project to the Celebrate Color contest, and to my great excitement my project was chosen as a finalist!
If you have a moment, go check out all the great projects and, you know, vote!
Thursday, October 27, 2011
A Little Baking
It's pretty dreary and rainy here today, so it's a good excuse to warm up the house with some baking!
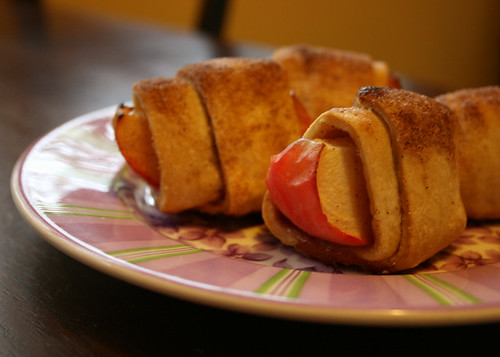
I'm not much of a cook (ok, not at all), but every once in a while I get the baking bug. I found the recipe for these Bite Sized Apple Pies here and I'm quite pleased with how they came out! They remind me of the Cinnamon Rolls my Mom and Grandma make with leftover pie crust, which I absolutely LOVE. I could eat a whole batch of them myself if left alone for too long.
The recipe calls them mini apple pies, but I like to think of them more as Apple Cinnamon Roll-Ups. Making a pie sounds like a complicated process, but these little guys are super easy!
Friday, October 21, 2011
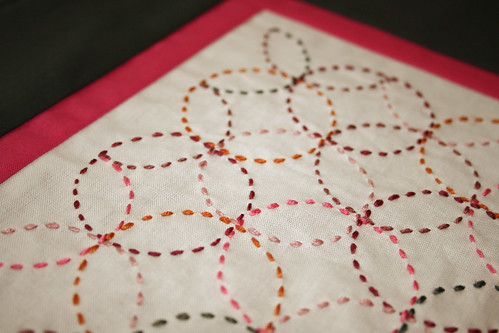
Circles & Circles & Circles
I've always loved patterns of circles. I can remember "doodling" with a compass when I was in elementary school, filling up my notebook with circles and pin pricks from the compass needle. Are kids even allowed to have those metal compasses anymore? Probably too much like a weapon for schools these days.
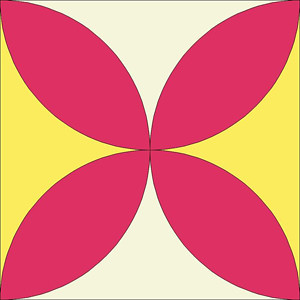
I like the secondary designs created at the intersections. Because of this, I've always liked the orange peel quilt block, although when you see a single block it doesn't immediately call circles to mind.
But when they're repeated in a quilt, you see those circles!
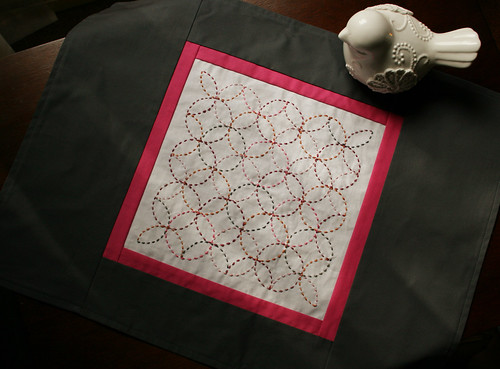
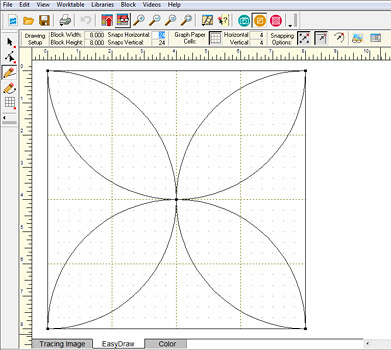
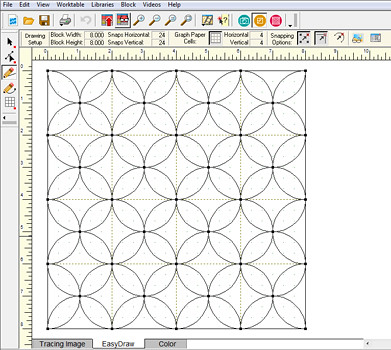
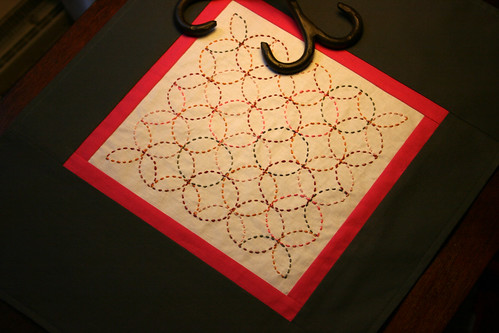
Curved piecing still intimidates me, so I thought I'd use an orange peel design as an embroidery piece. I created the design in EQ7, starting with a stencil block from the Block Library.
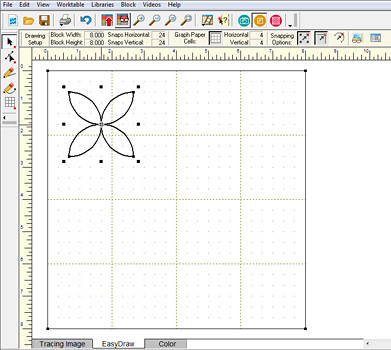
I selected all the lines and reduced it down to 25% (which made the design 2" x 2").
Then I copied and pasted the small design until it filled the 8" x 8" block.
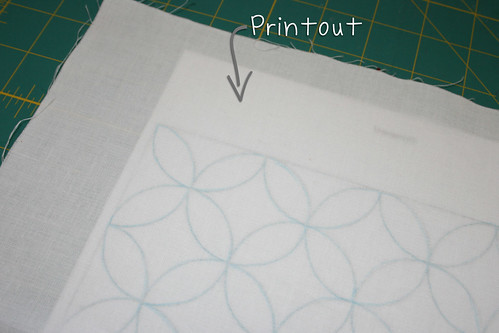
I then printed out the design and used a water-soluble pencil to trace it onto my fabric.
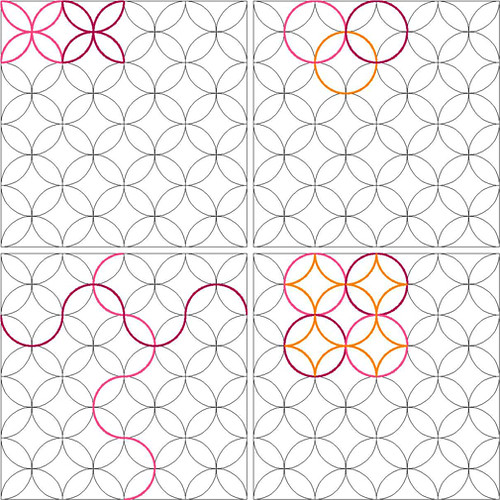
There are so many different patterns within this design to emphasize.
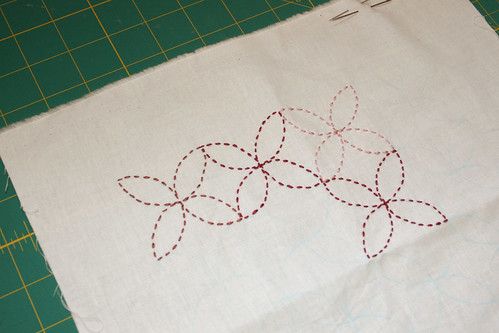
When I was about halfway done with this piece I began second guessing my choices and started a second panel. I eventually switched back and finished my original design, but I'll finish this second one soon too.
Glad I went back to this one and finished it!
-----
I'm going to link this project up over at Stitched in Color as part of the Celebrate Color series. Go check out the beautiful projects!
Subscribe to:
Posts (Atom)