Thursday, June 30, 2011
The "Where Was I Going With This?" Dress
Last summer, after making my first dress from a pattern, I decided I'd wing it and make a dress without a pattern. I thought all I needed was a basic shape, which I got from tracing one of K's dresses, and I'd just run with it. This is what I first came up with:
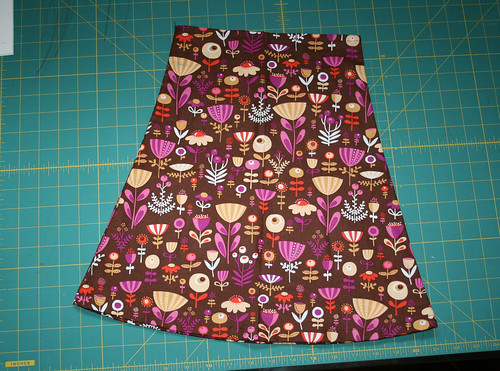
And look at how nicely I finished those seams!
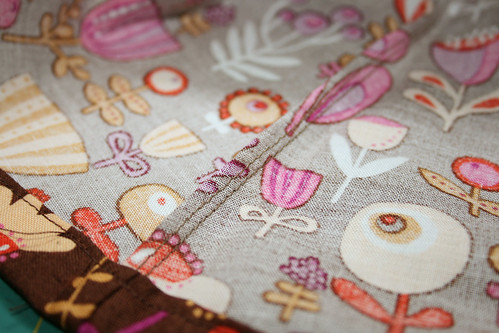
You'll notice that there are no straps. I can't remember what my original plan was with the straps, but for whatever reason that plan was abandoned. It also wasn't the easiest dress to put on because there is no zipper/buttons on the back. Eventually I put the dress away and waited for an epiphany...
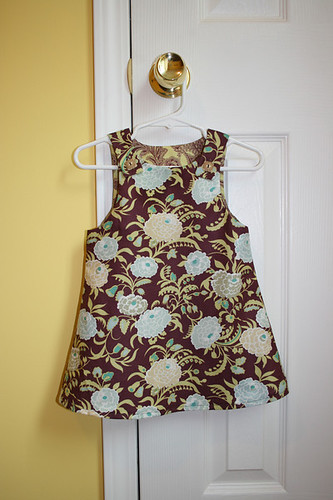
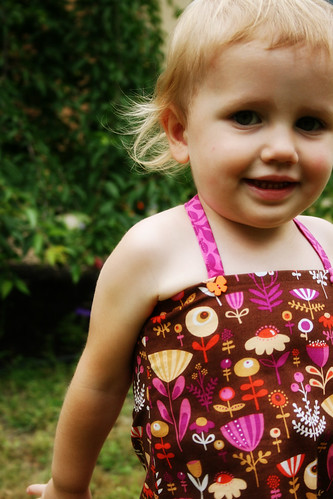
I brought the dress back out a few days ago and ended up with this:
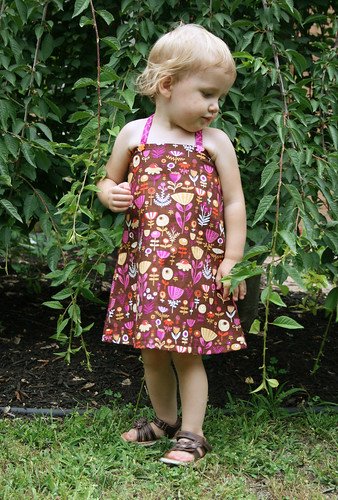
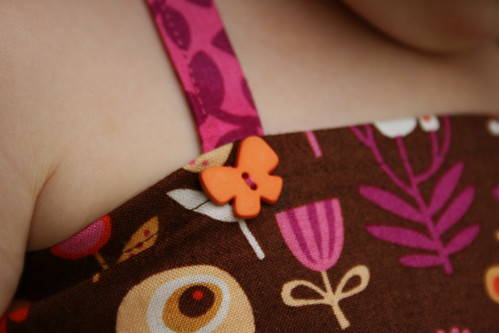
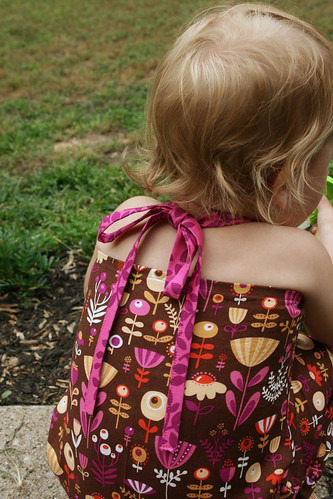
She won't be able to wear this for long. The no zipper problem has become more of an issue since last summer- she's really gotta shimmy to get into it now. But at least I managed to get it into a wearable garment for a little while. And I figure once she outgrows it as a dress I'll chop it at the waist and make it into a skirt. I do like the long ties in the back and the cute little butterfly buttons on the front:
Sunday, June 26, 2011
Dinosaur Kidlet
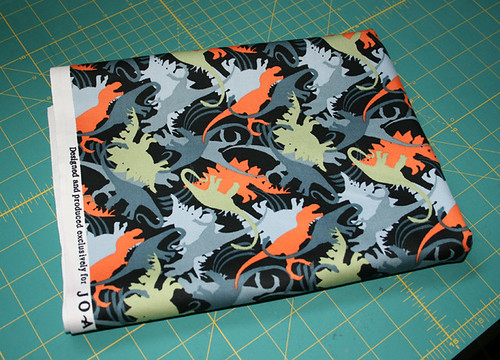
I bought this fabric a couple months ago with the intention of making one of these book slings. But after buying the hardware and testing it out in A's room I decided there was just no good place for it.
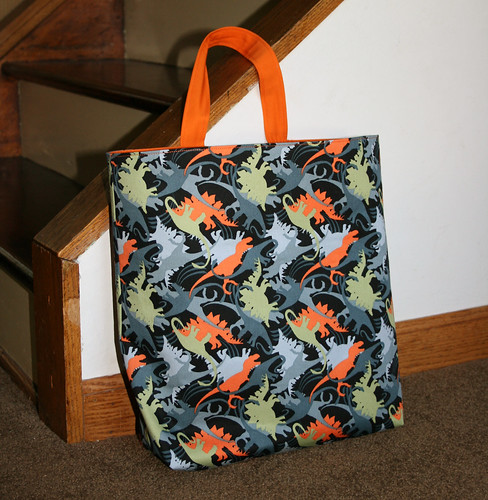
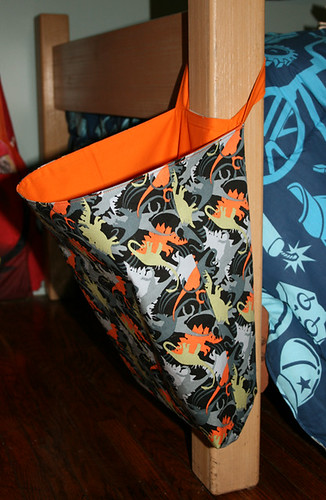
So the fabric has been sitting around my sewing table and every time A saw it he would beg me to make something out of it. Every night A picks a book from the bookshelf in the living room and takes it upstairs to read at bedtime. Because of this there is always a tower of books stacked on the floor next to his bed. I came across this Kidlet tutorial and thought it would be a good solution. Not only would it give us a place to put the books, but it would make it easier to take them back downstairs.
I didn't use the dimensions given in the pattern; it didn't seem like it would be big enough to hold most of our books. The tutorial says it should take you about an hour to make one. I must be a slow sewer because it probably took me at least twice that (and I didn't even make the cute pocket on the front!). Here it is in action in his room:
Thursday, June 23, 2011
A "Wee" Work-in-Progress
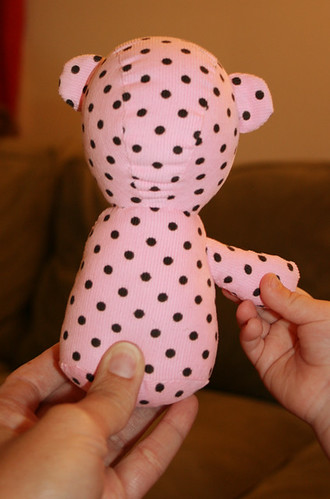
Started working on a little project from the book Wee Wonderfuls. I borrowed this book from the library but didn't have a chance to make anything from it before it was due, so I splurged and bought myself a copy.
I just love my little helper's hand there on the right!
Anything with hand sewing used to intimidate the heck out of me, but over the past year or so I've gotten much more comfortable with my hand sewing skills (imagine that- practice makes perfect!). Which is a good thing since most of the projects in this book require it, but so far I'm happy with the results.
I just hope I can get the face right. I hate a lazy-eyed bear.
Wednesday, June 22, 2011
Infinity Scarf
A few weeks ago I went to Goodwill looking for some hidden gems. I'm always seeing these cool vintage sheets people find, so I took a turn through the housewares section. I *thought* I was coming home with some fun vintage sheets. Well I took it home and started cutting it up and found the tag- IKEA. So, at best, it was what? Vintage 2003? ;)
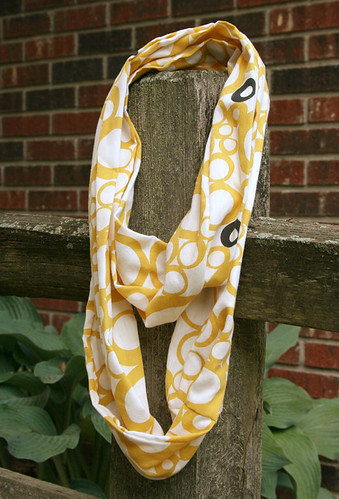
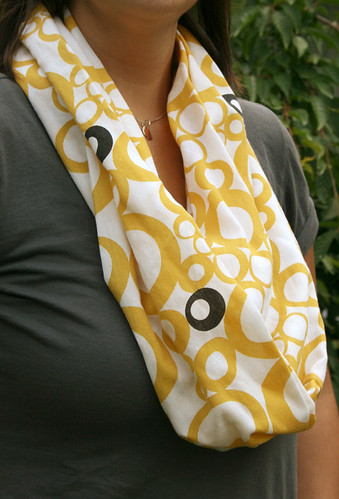
Even though my vintage street cred dreams were shattered, I made an Infinity Scarf:
It's loosely based on this tutorial. I didn't use the measurements given, but the instructions for turning the tube were very helpful. Since I wasn't using two different fabrics, and I had a big chunk of fabric to cut from, I only cut one large rectangle and sewed one seam down the long edge.
I have some fabric I'd like to use to make another one of these, but next time I plan to use two coordinating fabrics- love the look of the scarf in the tutorial!
Tuesday, June 21, 2011
K's Birthday Dress
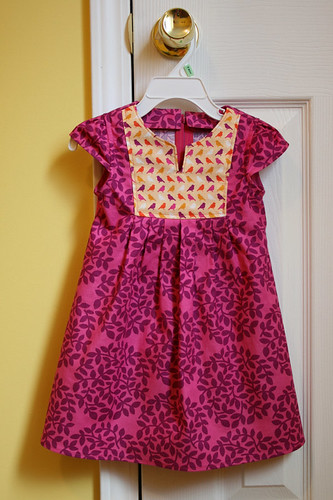
This is the dress I made for K's second birthday. Definitely the most difficult pattern I've tried so far (not because of the way the pattern was written, but because of my fairly novice sewing skills). The pattern is Simplicity Project Runway 2320 and I'm so happy with the way it turned out. LOVE that birdie fabric!
I was chugging along pretty well with this dress until I got to those little cap sleeves. It was my first encounter with bias tape facing and I had to do quite a bit of Googling to figure it out (I found this link the most helpful). How did people learn to do anything before the internet?!
Here it is in action at the birthday party. Complete with matching headband made by mama (which she kept on for about 3 minutes).
Saturday, June 18, 2011
Warm/Cool Quilt Progress
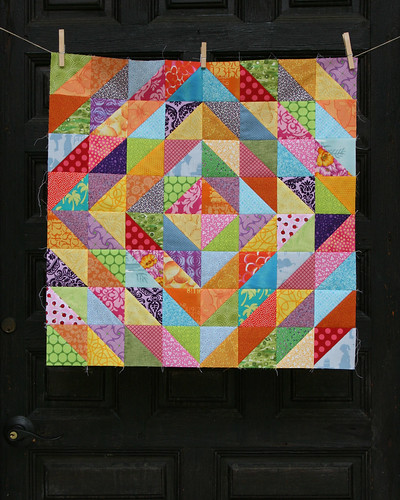
I managed to finish my quilt top for the Warm/Cool Quilt Along today during naptime.
When I first laid out the blocks for this quilt I thought, "wow, that is SCRAPPY". Maybe a little too scrappy for me. But now that it's all together I'm happy with it.
I thought I would agonize over the block placement and I would forever being switching blocks around, but I found my final layout pretty quickly. I laid out my blocks on the kitchen table, and I think that helped. It wasn't up on the design wall for me to over-analyze and I had the pressure of getting it off the kitchen table before the kids could start "helping". Now to find the time to quilt it!
Tuesday, June 14, 2011
A Little Stitchery
I made this little piece as a birthday gift for my mom. Don't ask when her birthday was, it's a tad late.
I used to do quite a bit of cross-stitch when I was kid, but just recently "rediscovered" embroidery. I love simple projects like this that are easy to pick up and work on while watching tv.
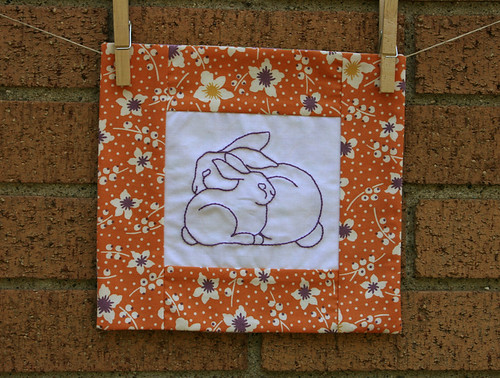
Here's another stitching project I finished recently- I love these cuddly little bunnies!
Both of these designs come from the Quilting Designs-Quiltmaker Collection series. They're meant to be quilting stencils, but I think they work great for embroidery too!
Thursday, June 9, 2011
Warm Cool Quilt Along
Even thought I already have a half-square triangle quilt up on my design wall (see photos here), I'm jumping in there and trying my first quilt along!
Here are my fabric choices for In Color Order's Warm Cool Quilt Along:
The warm colors were a lot easier to choose than the cool colors for me, even though I say purple is my favorite color. I sort of destroyed my sewing room in the process of digging though all my fabric for this project, but I suppose there wasn't a lot of organization in there to start with!
Lazy Days Skirt
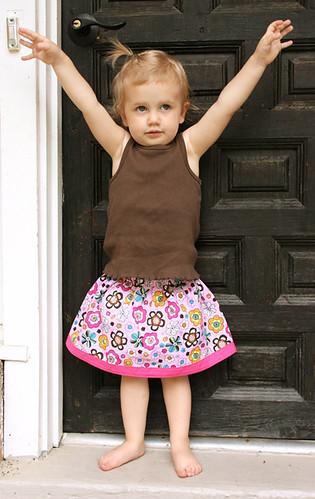
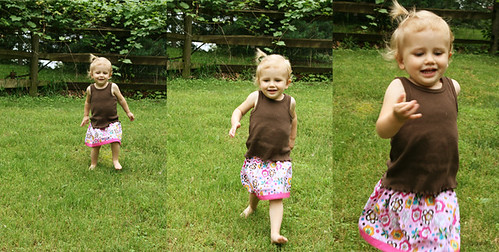
Finished up this skirt recently.
It's based on the Oliver + S pattern here. The full 44" width of the fabric seemed like too much for her little waist, so I think I ended up using a 38" wide rectangle. This meant the seams needed to be finished, so I had an excuse to use my serger. And I love finding reasons to use my serger!
I also decided to use a contrasting fabric for the bottom band, rather than ribbon. I worry how well ribbon would hold up to multiple washings.
I found the fabric in the clearance section at Hobby Lobby. I bought a half yard and had a little bit left over. Quick and easy skirt for $2!
Tuesday, June 7, 2011
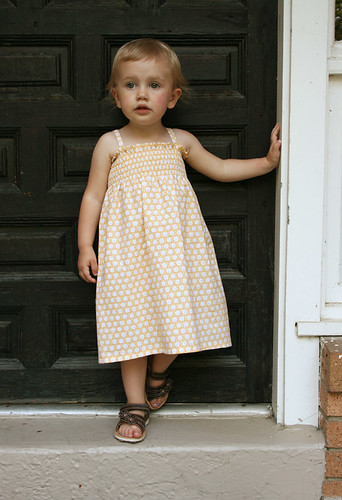
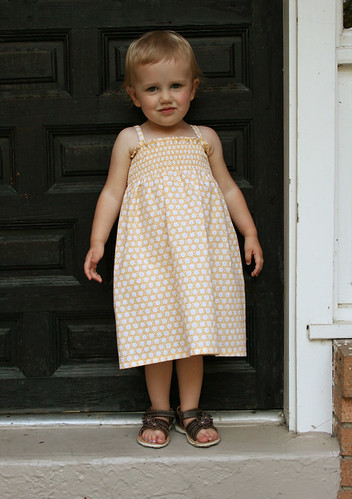
Shirred Yellow Sundress
This dress has been sitting on my sewing table for a couple of weeks, and I finally finished it today! It needed hemmed, and I had to figure out how I wanted to attach the straps. I probably should have thought about the straps before I actually started, but I just wanted to jump in there- planning-shmanning!
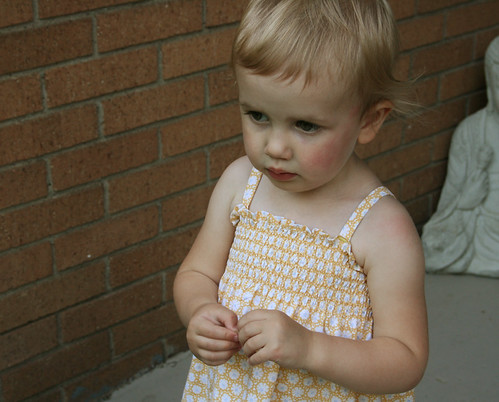
This was my first time working with elastic thread. It's a little scary, but after some experimenting I figured out the correct tension for my machine and off I went. I didn't follow a pattern for this dress (it's basically just a rectangle with shirring along the top), but I did check out several shirring tutorials:
Flossie Teacakes: Shirring tutorial
Pretty Ditty: Shirring tutorial
Portabellopixie (click Shir Madness under Tutorials)
A little closer look at the shirring |
Sassy! |
Monday, June 6, 2011
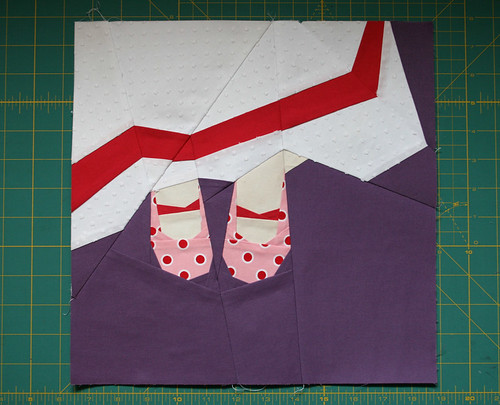
My Easter Dress Block
I first saw this block on Artisania's blog and I loved it as soon as I saw it! Then I just had to wait for the magazine to show up at the office. Here's my version:
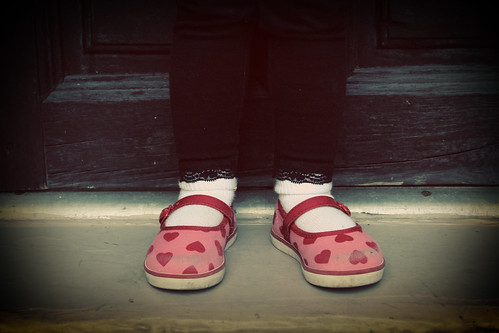
My fabric choices were inspired by my favorite pair of K's shoes.
Pretty close, considering I was just using fabrics from my stash. I just love the white dress fabric with the little slubbies too (does that fabric have a special name?). In the magazine, the block is oriented the other way, with the shoes pointed up. But I like it this way, shoes down, as I like to picture her sitting on a swing with her feet dangling.
Now to decide what to do with this little cutie... I think I might just make it into a little mini quilt and hang it in K's room.
My Easter Dress block from Quiltmaker's 100 Blocks, Vol. 3, designed by Sonja Callaghan |
My fabric choices were inspired by my favorite pair of K's shoes.
Favorite shoes (that barely fit anymore!) |
Pretty close, considering I was just using fabrics from my stash. I just love the white dress fabric with the little slubbies too (does that fabric have a special name?). In the magazine, the block is oriented the other way, with the shoes pointed up. But I like it this way, shoes down, as I like to picture her sitting on a swing with her feet dangling.
Now to decide what to do with this little cutie... I think I might just make it into a little mini quilt and hang it in K's room.
Sunday, June 5, 2011
Bucket Hat
For Mother's Day, I received the Oliver + S book Little Things to Sew. This was the first pattern I tackled from the book- the Reversible Bucket Hat.
So cute!
I'm quite pleased with the way it turned out. I hope to make some more in different fabrics. Now if only she'd keep it on for longer than 30 seconds!
So cute!
I'm quite pleased with the way it turned out. I hope to make some more in different fabrics. Now if only she'd keep it on for longer than 30 seconds!
Friday, June 3, 2011
First Dress
I've done a fair amount of sewing in the past, but it's just been in the last year or so that I've really become interested in sewing clothing. And I suppose that's mostly due to my two year old daughter- everything's cuter when it's smaller, especially dresses!
I made this dress last summer. And it's the first thing I've sewn from an honest-to-goodness pattern. Flimsy tissue paper and all.
Pattern: New Look 6576
Fabric: Amy Butler's Gypsy Caravan
When I first finished the dress, I wasn't crazy about the fit on her- I didn't like how low the armholes hung. But when the weather turned cooler, I really liked the way it looked with a long sleeve shirt underneath and over jeans (wish I had a picture of it that way).
Thursday, June 2, 2011
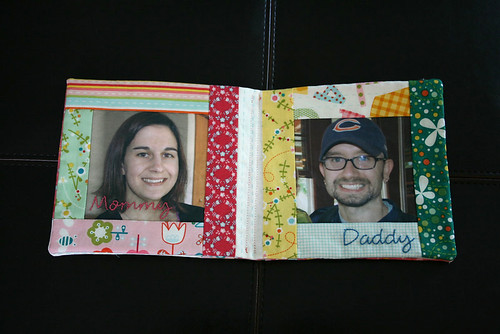
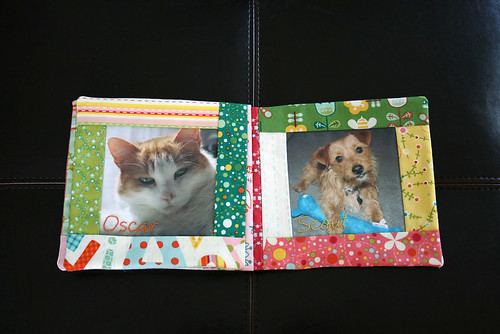
Soft Photo Book
This is a project I made last summer for my daughter. I'm really happy with the way it turned out.
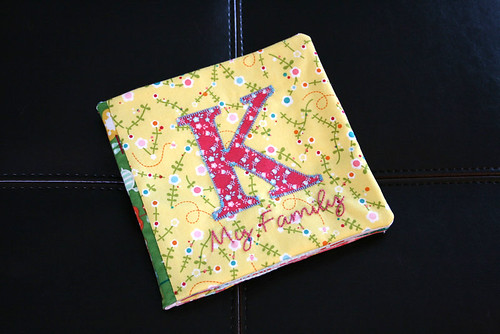
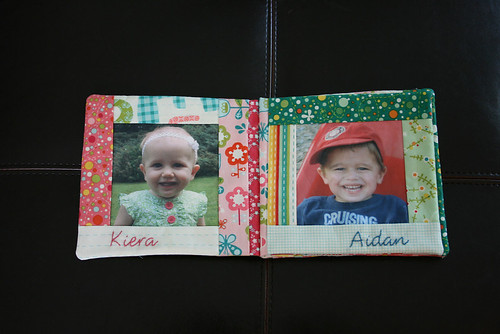
The fabric line is Girl Friday by Cosmo Cricket. I embroidered each family members' name on their page. The pages were made individually and then bound together on a fabric strip binding (which took some trial-and-error to figure out).
The cover |
The kiddos |
Mom & Dad |
The pets |
The fabric line is Girl Friday by Cosmo Cricket. I embroidered each family members' name on their page. The pages were made individually and then bound together on a fabric strip binding (which took some trial-and-error to figure out).
Subscribe to:
Posts (Atom)